Skip to Content
  • About
  • Portfolio
  • Stockists
  • Care Guide
  • Order, Shipping, Return & Refund
  • Contact
  • Wholesale 2026
||  Ceramic inspired by Svalbard and the beauty of nature  ||

|| Ceramic inspired by Svalbard and the beauty of nature ||

Login
0 Wishlist
0 kr 0,00

Basket

  • EasterThese handmade ceramic Easter pieces are fully functional decorative items. Due to the handmade process, small variations in glaze, color, or shape may occur, making every piece unique.
  • See all
  • Signature Lines
    • Ash
    • Bubbles
    • Darkness
    • Earth
    • Fields
    • Frozen Pond
    • Furry Friends
    • Ocean
    • Oil
    • Rust
    • Svalbard
  • Everyday Ceramic
    • Baskets
    • Bowls
    • Charcuterie Boards
    • French Butter Dish
    • Garlic Grater
    • Heart Plates
    • Jars
    • Mugs & Cups
    • Oil bottles
    • Plates
    • Ring Dish
    • Salt PigsCeramic salt pigs, handcrafted with care — a decorative & functional piece for your table and kitchen.
    • Spoon Rest
    • Spoons
    • Tea Pots
    • Utensil Holder
    • Vases
  • Paws, Wings & Garden
    • Bee Fountains
    • Bird Feeders
    • Cat FountainA cat fountain that keeps your feline hydrated with fresh, flowing water.
    • Flower Pots
    • Food BowlsCarefully designed food bowls with low edges to avoid irritating sensitive whiskers, making mealtime comfortable for cats and dogs.
    • Wind Chimes
  • Jewellery
    • Earrings
    • Neckless
  • Workshops & Downloads
  • SALE %
Home PortfoliosSvalbard

Svalbard

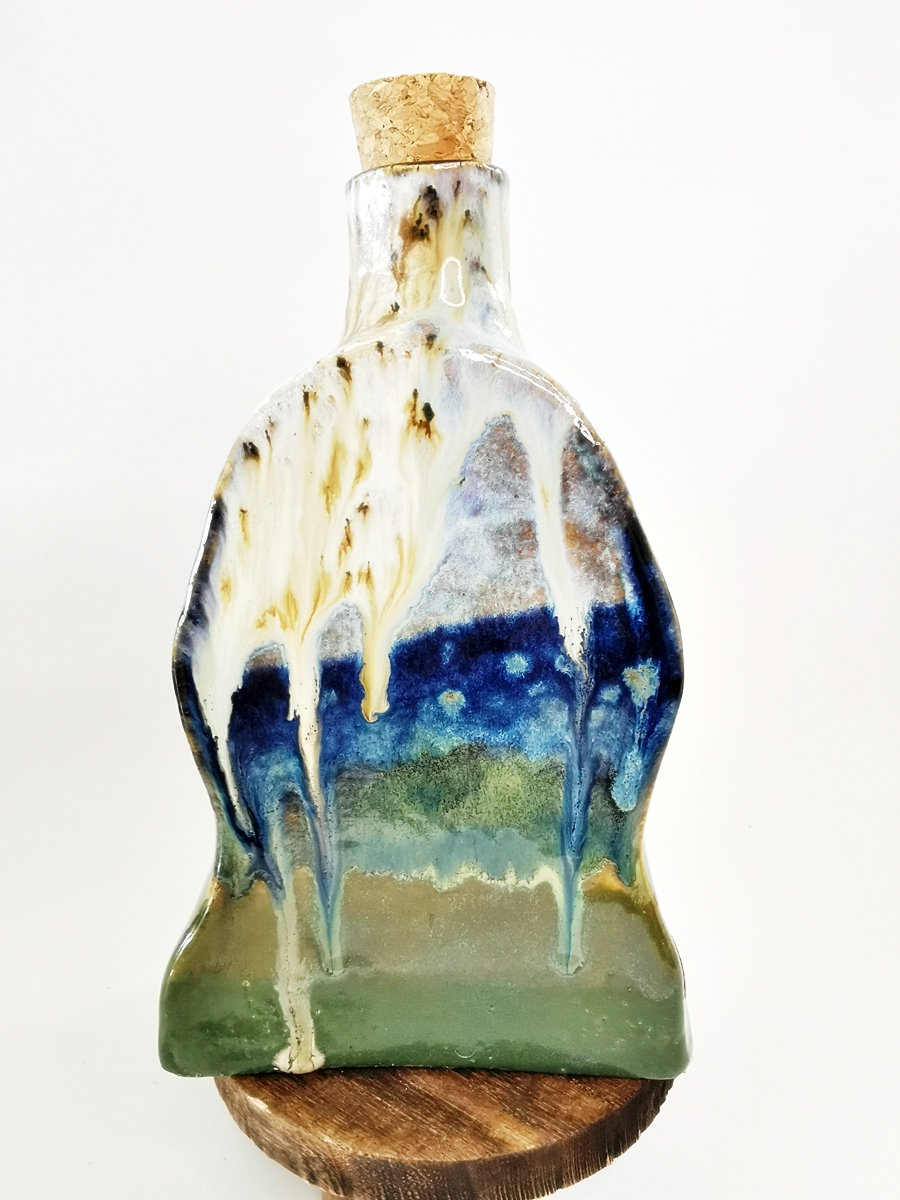
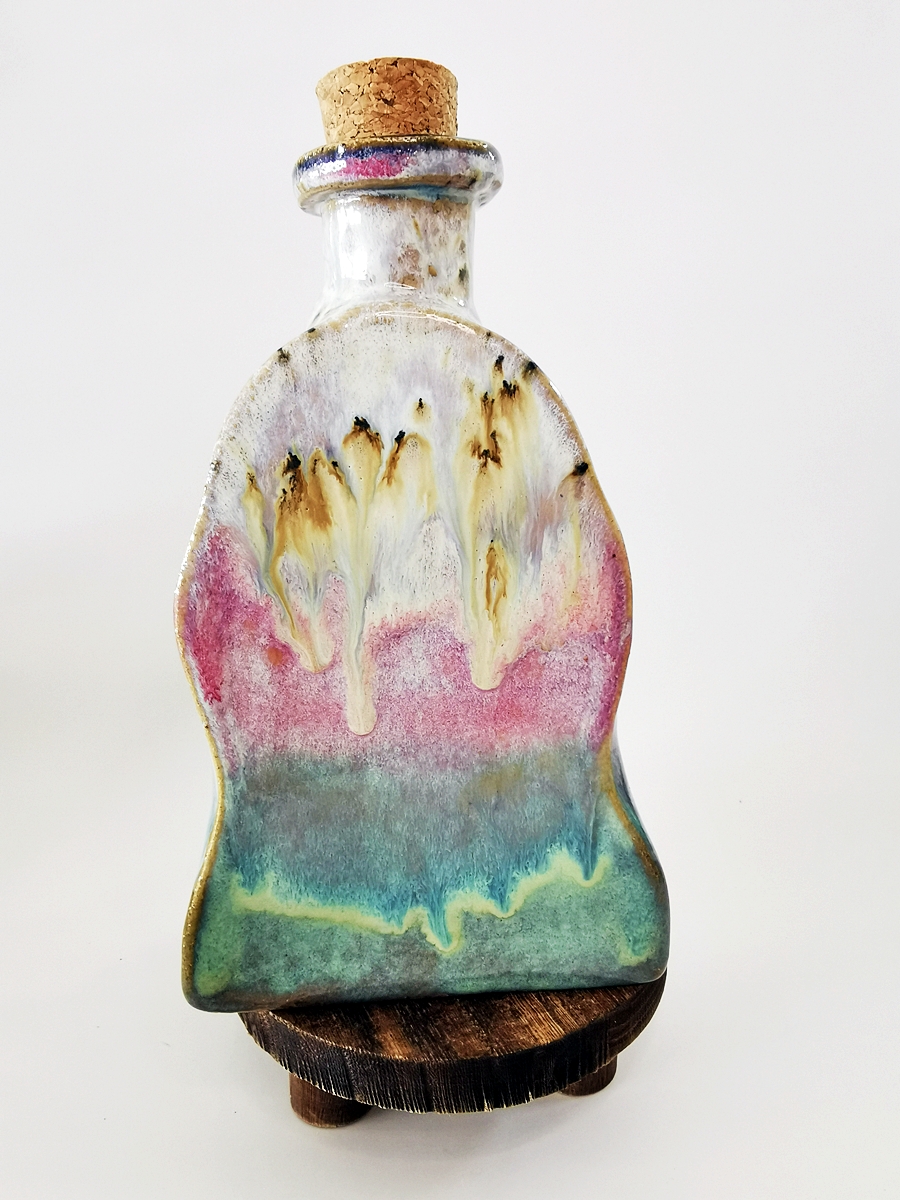
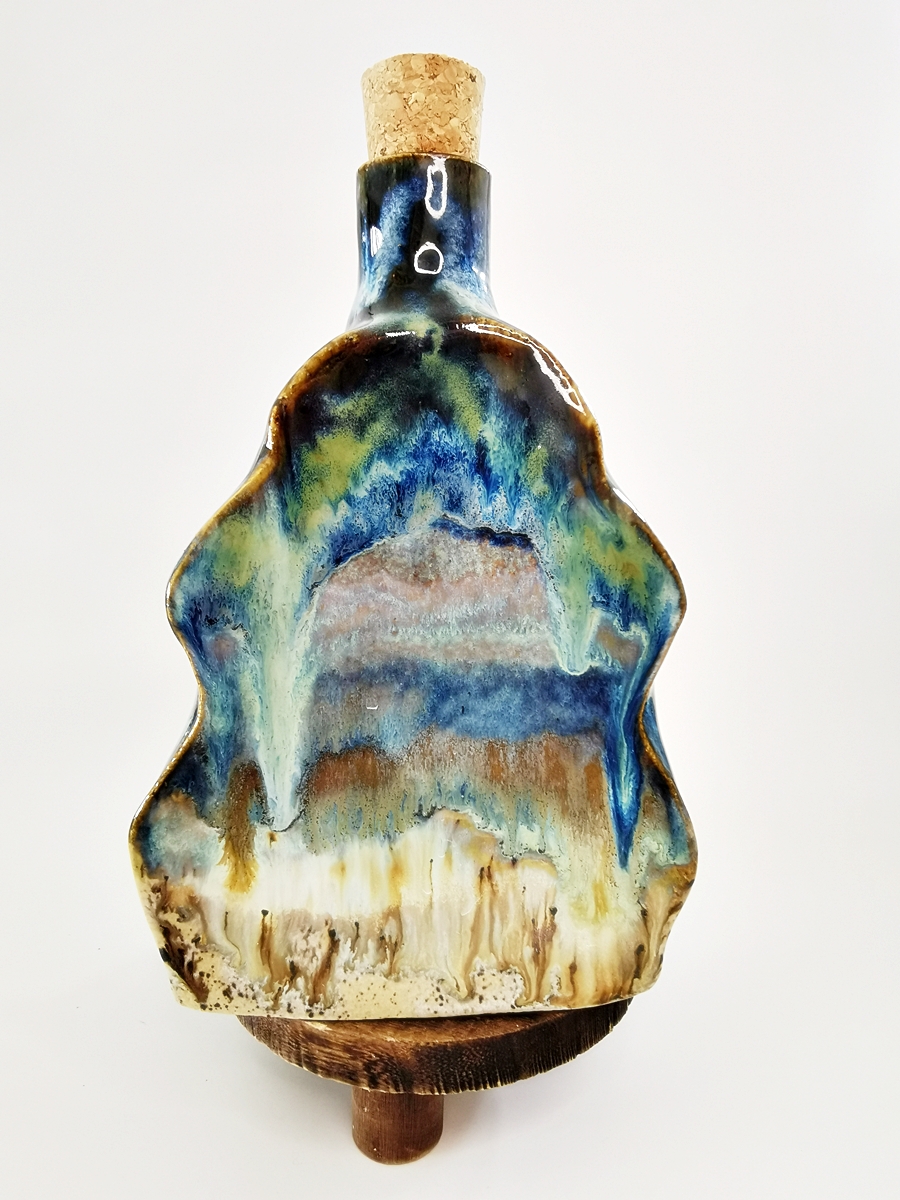
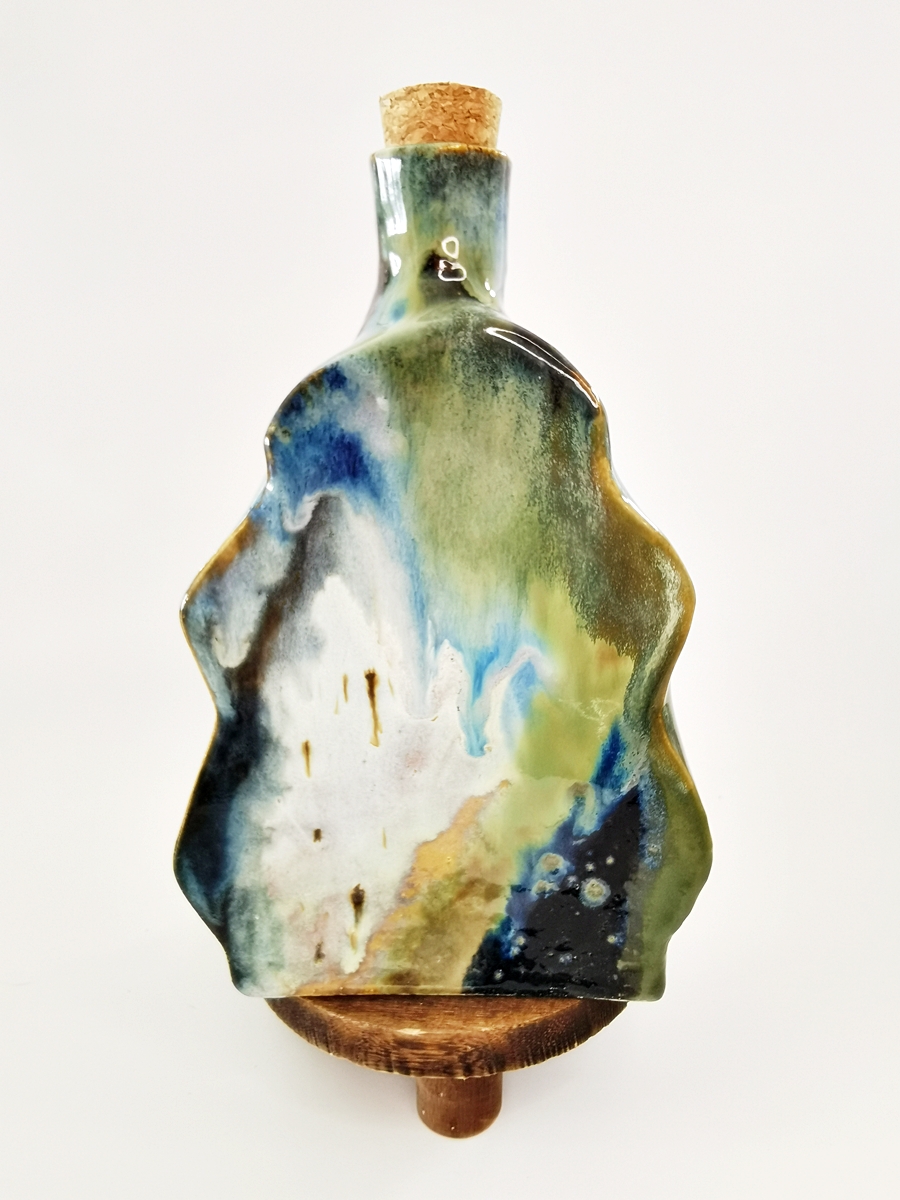
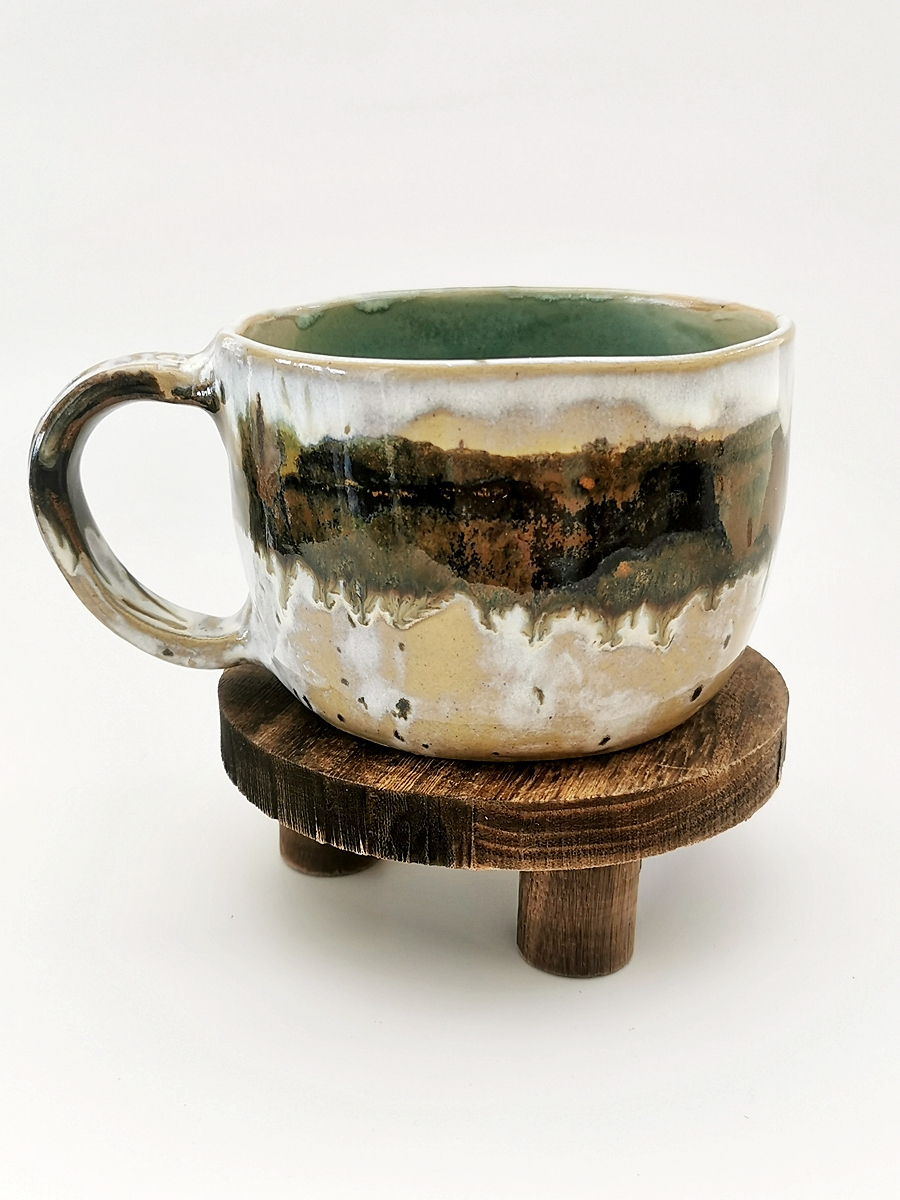
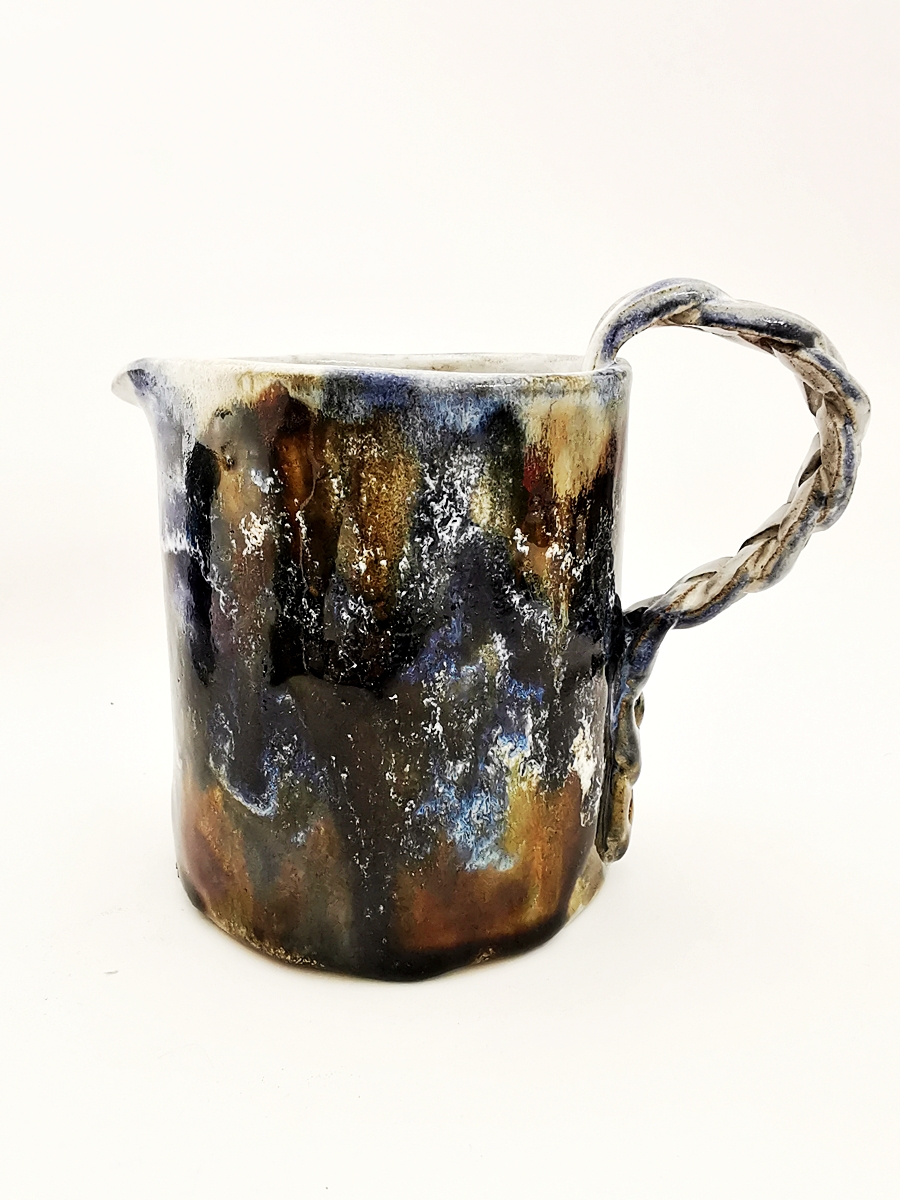
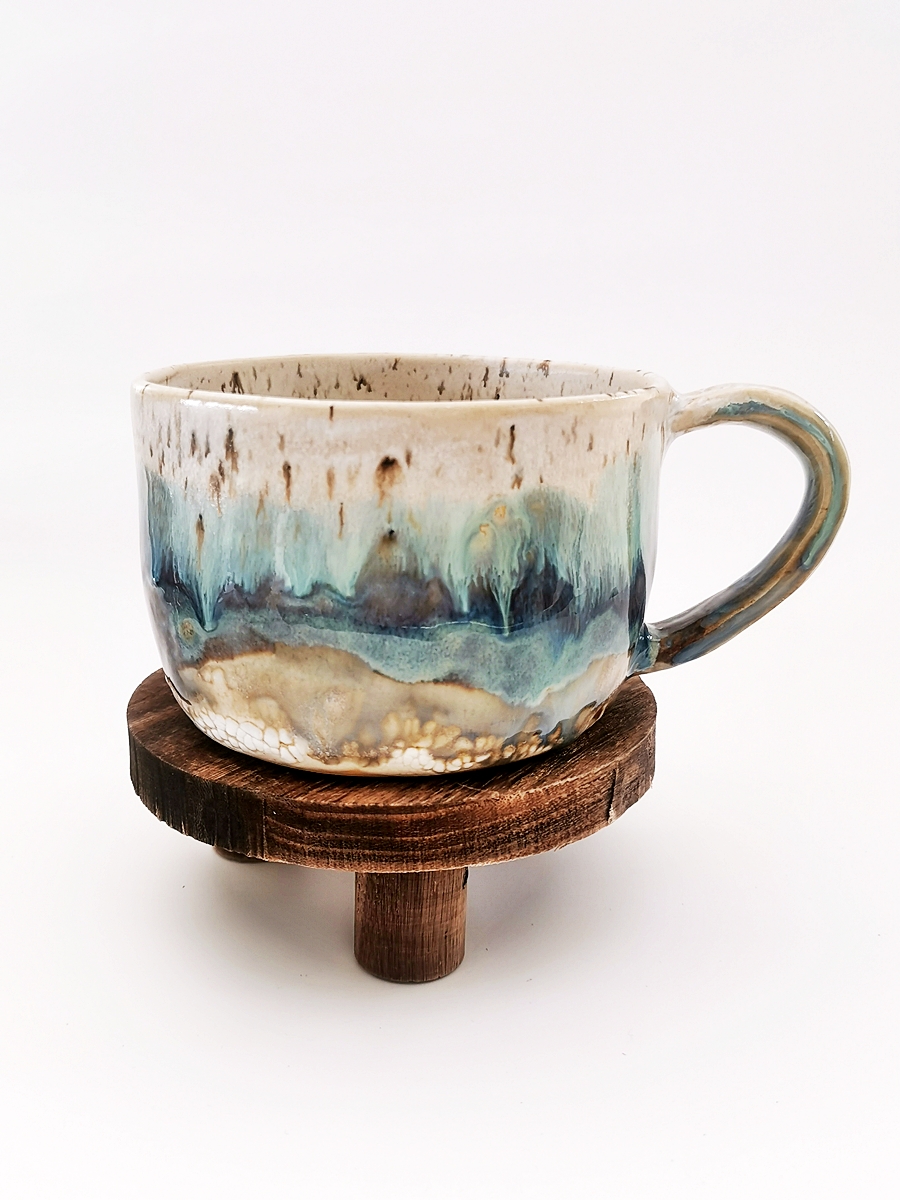
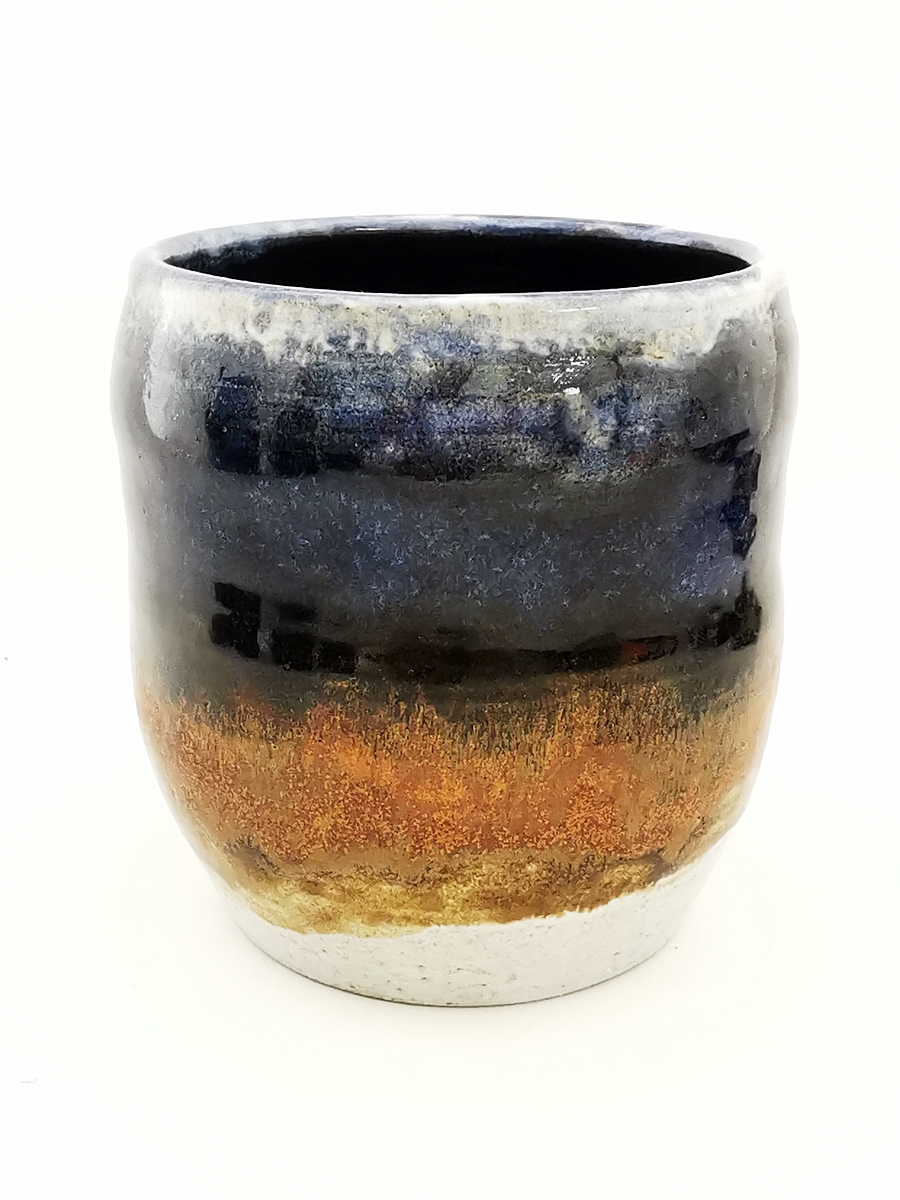
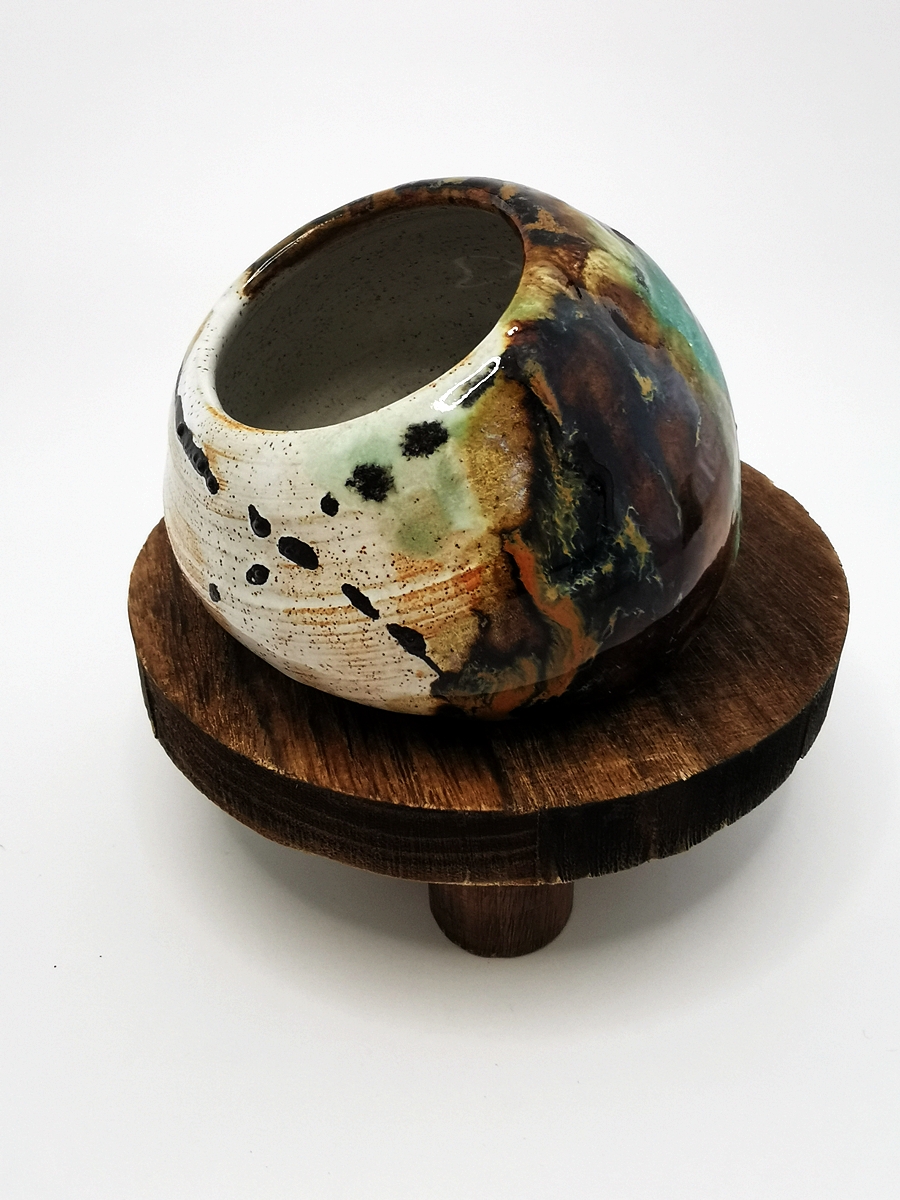
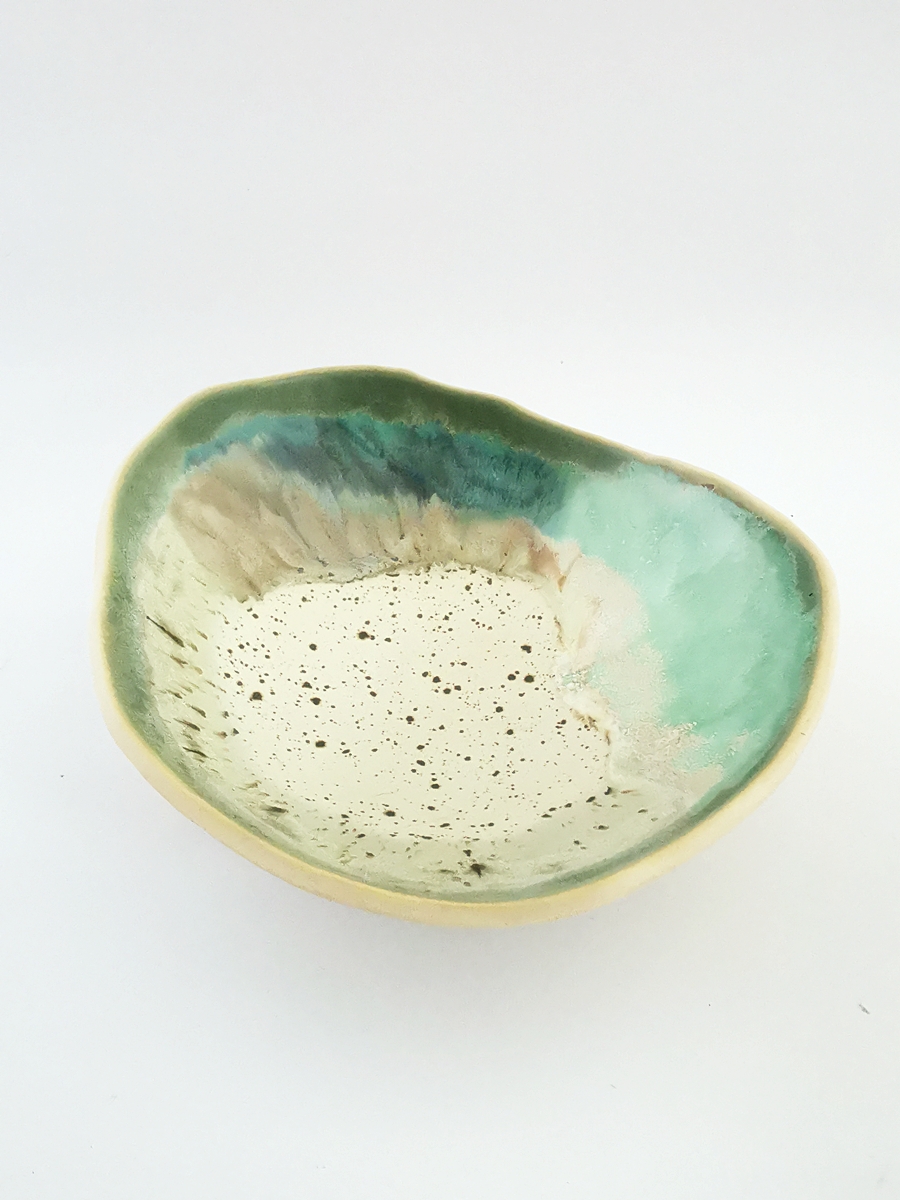
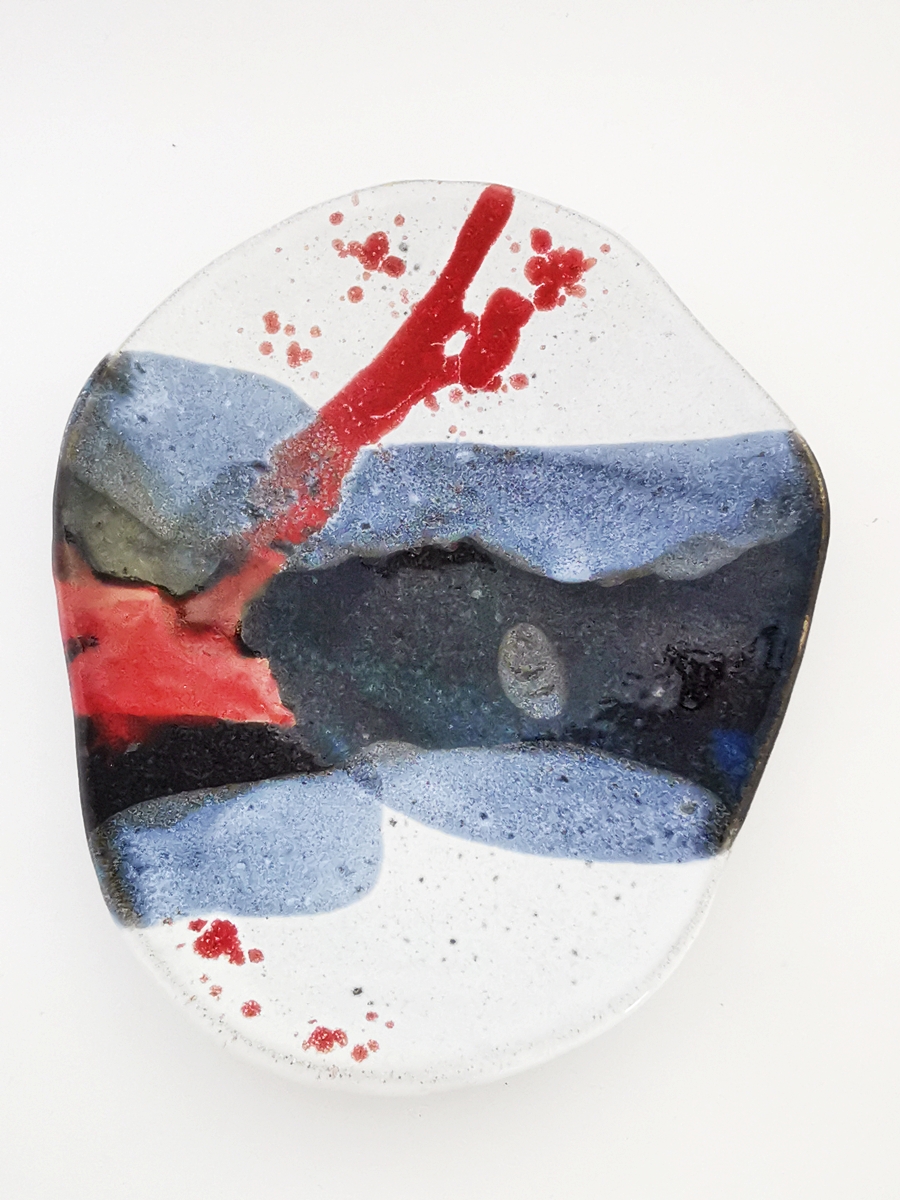
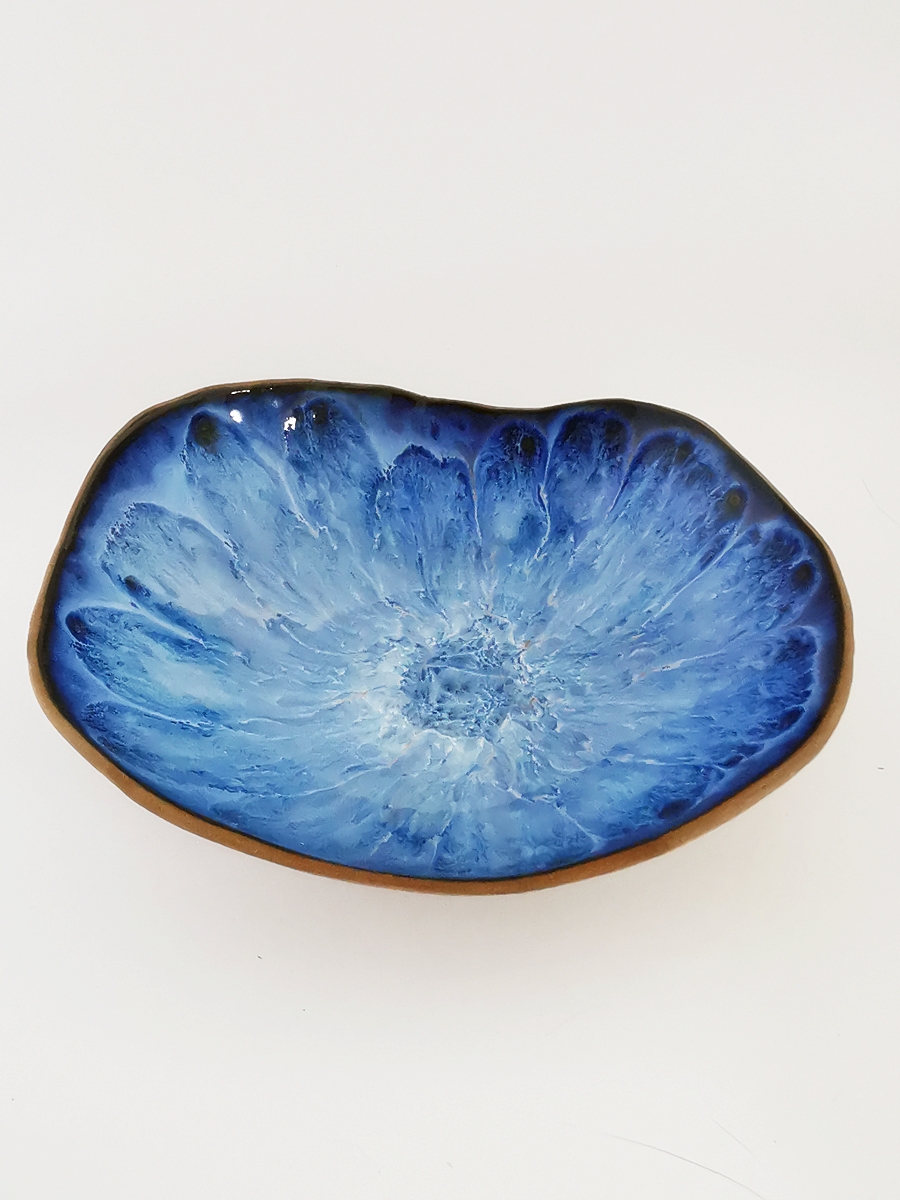
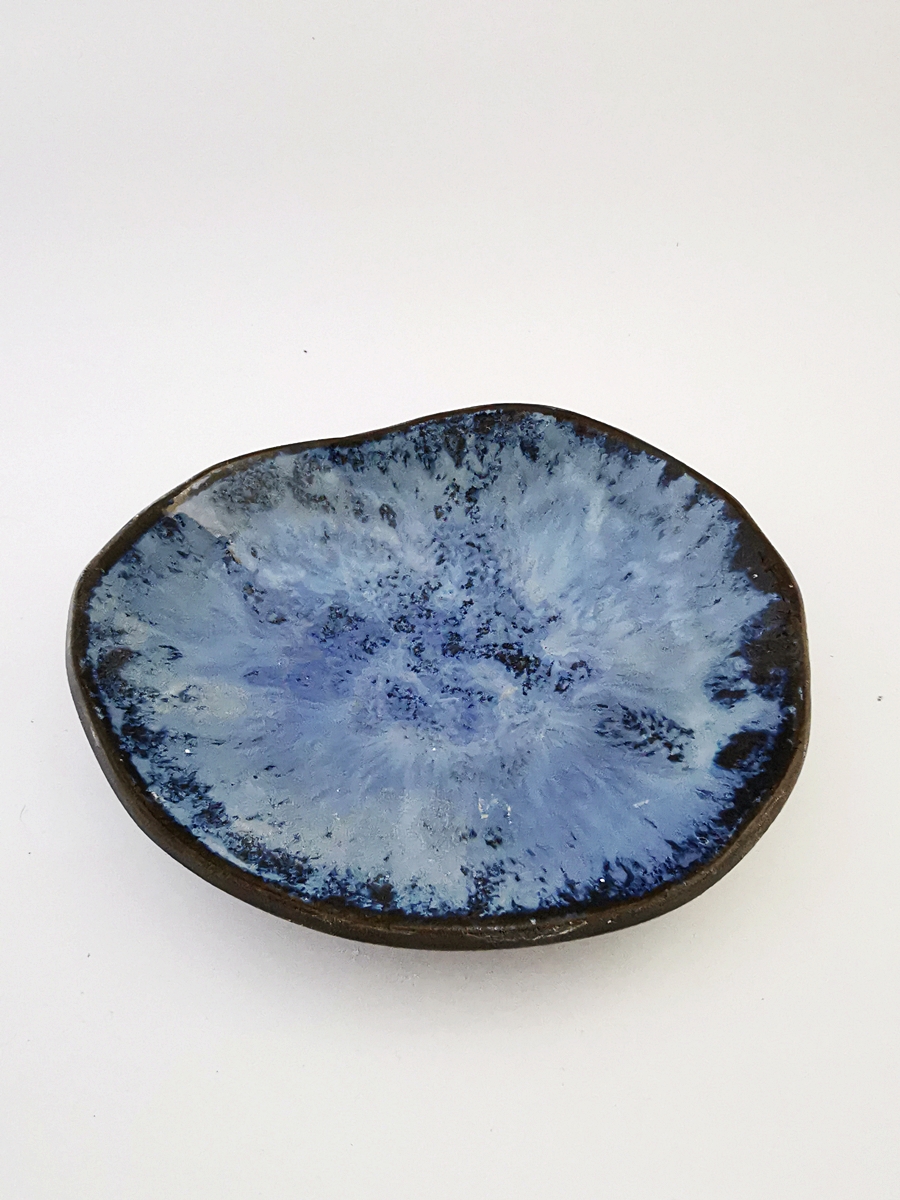
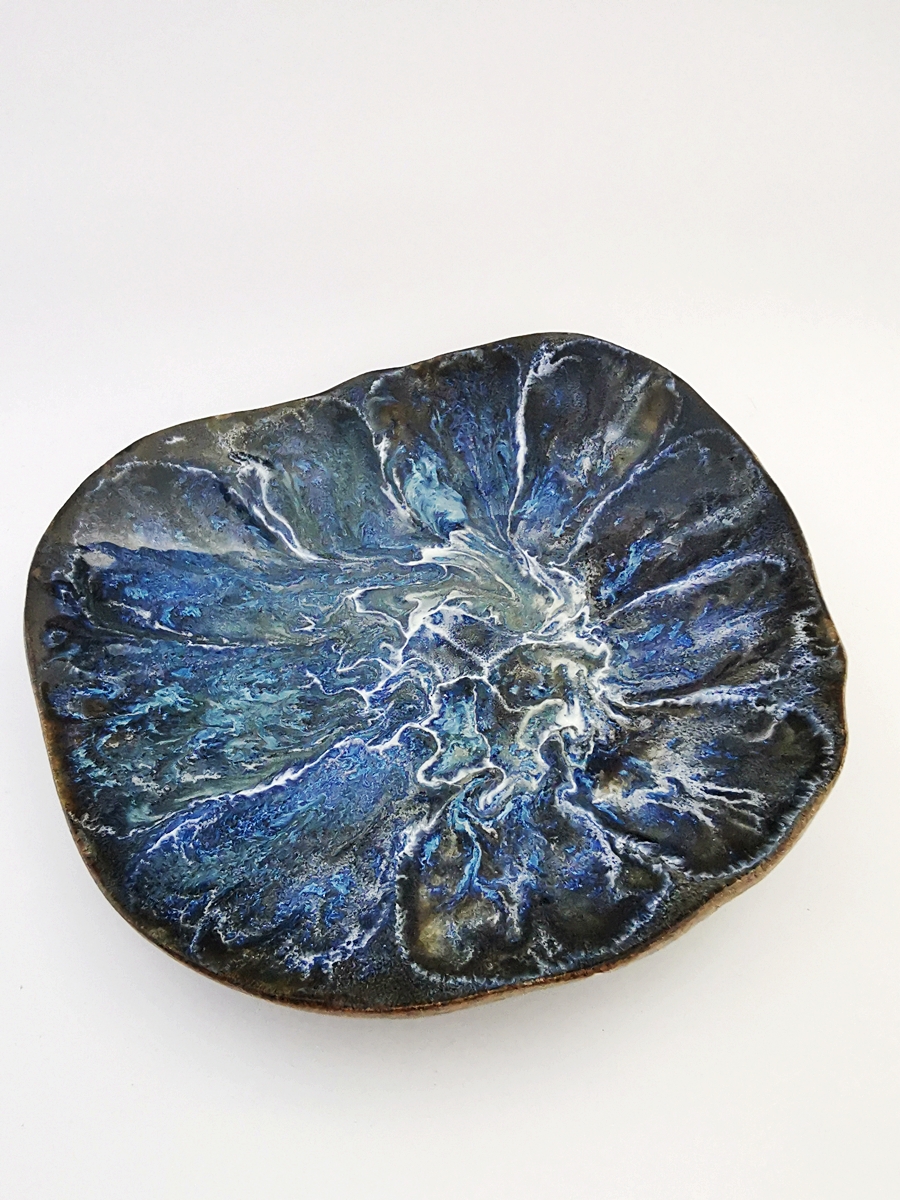
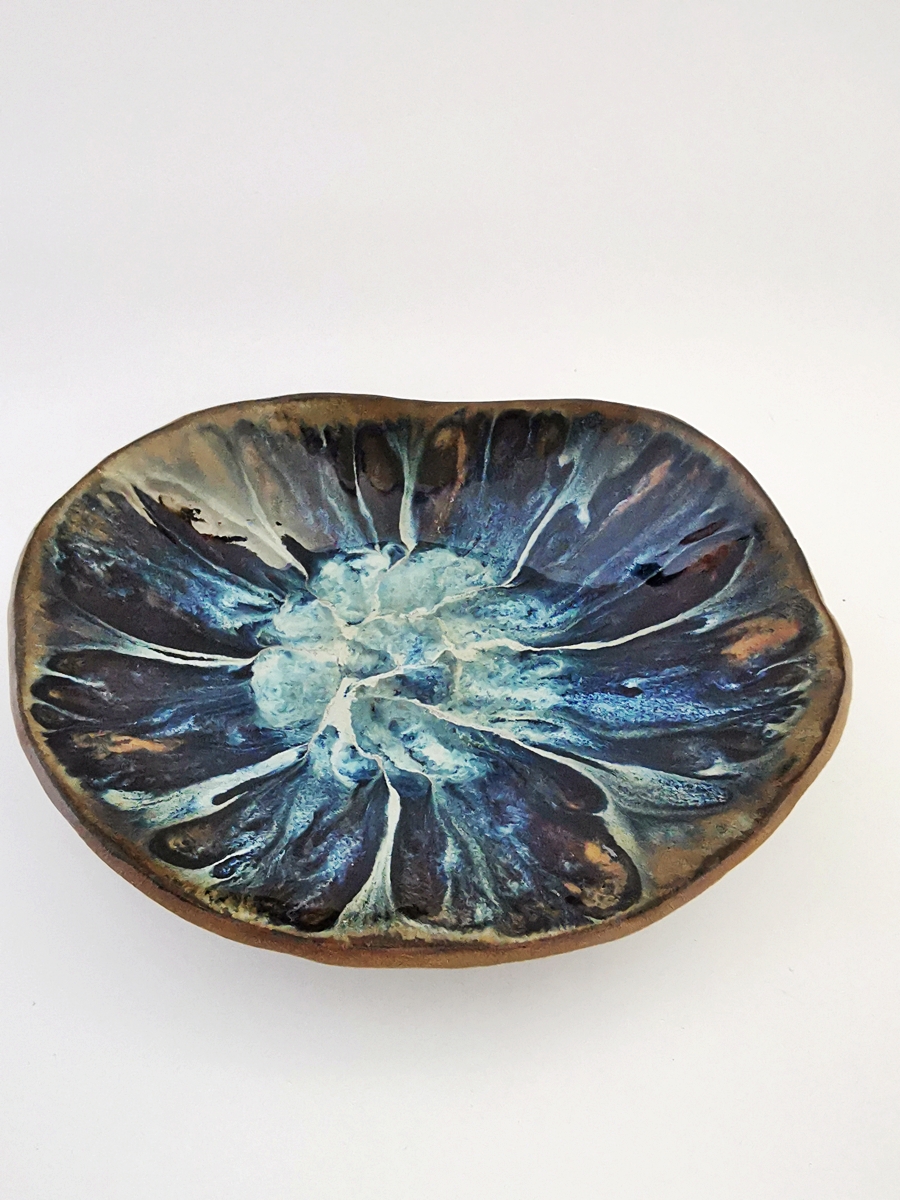
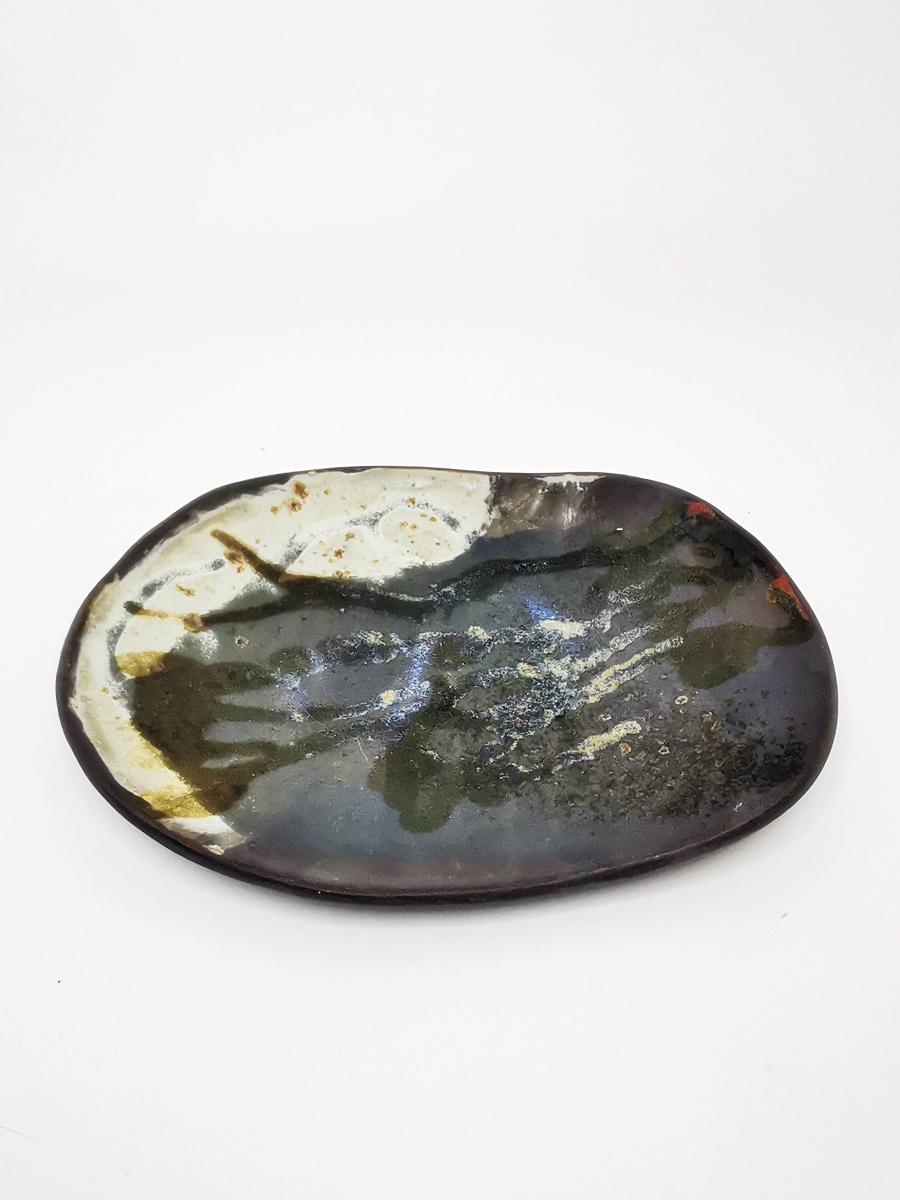
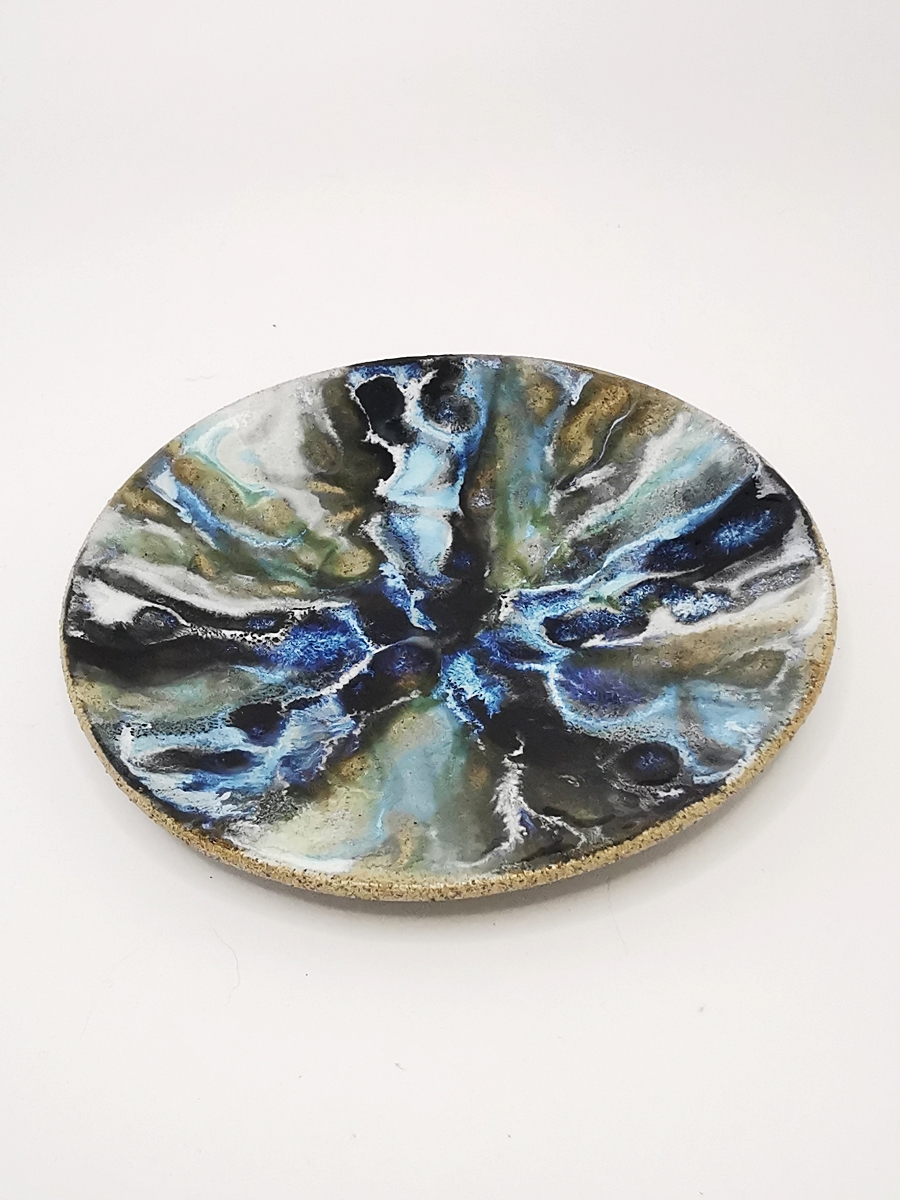
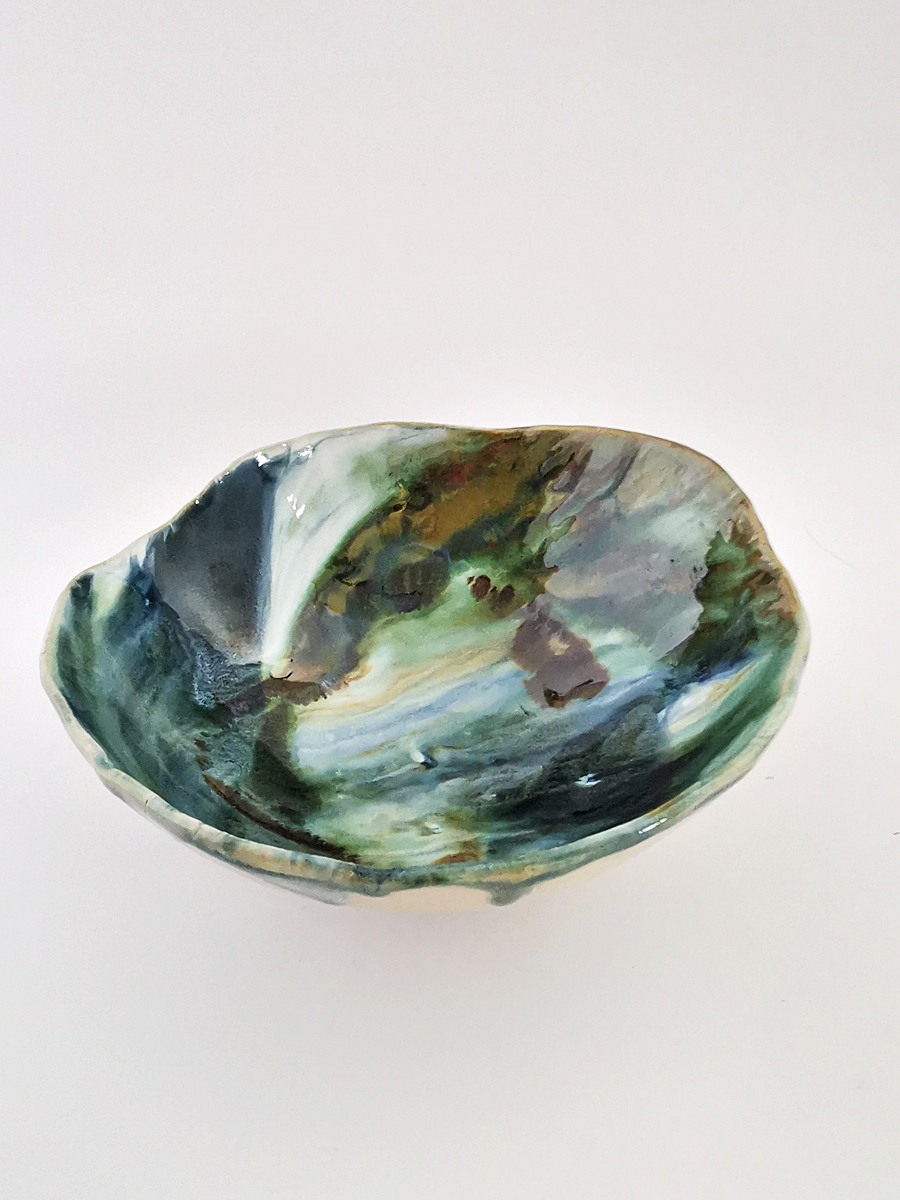
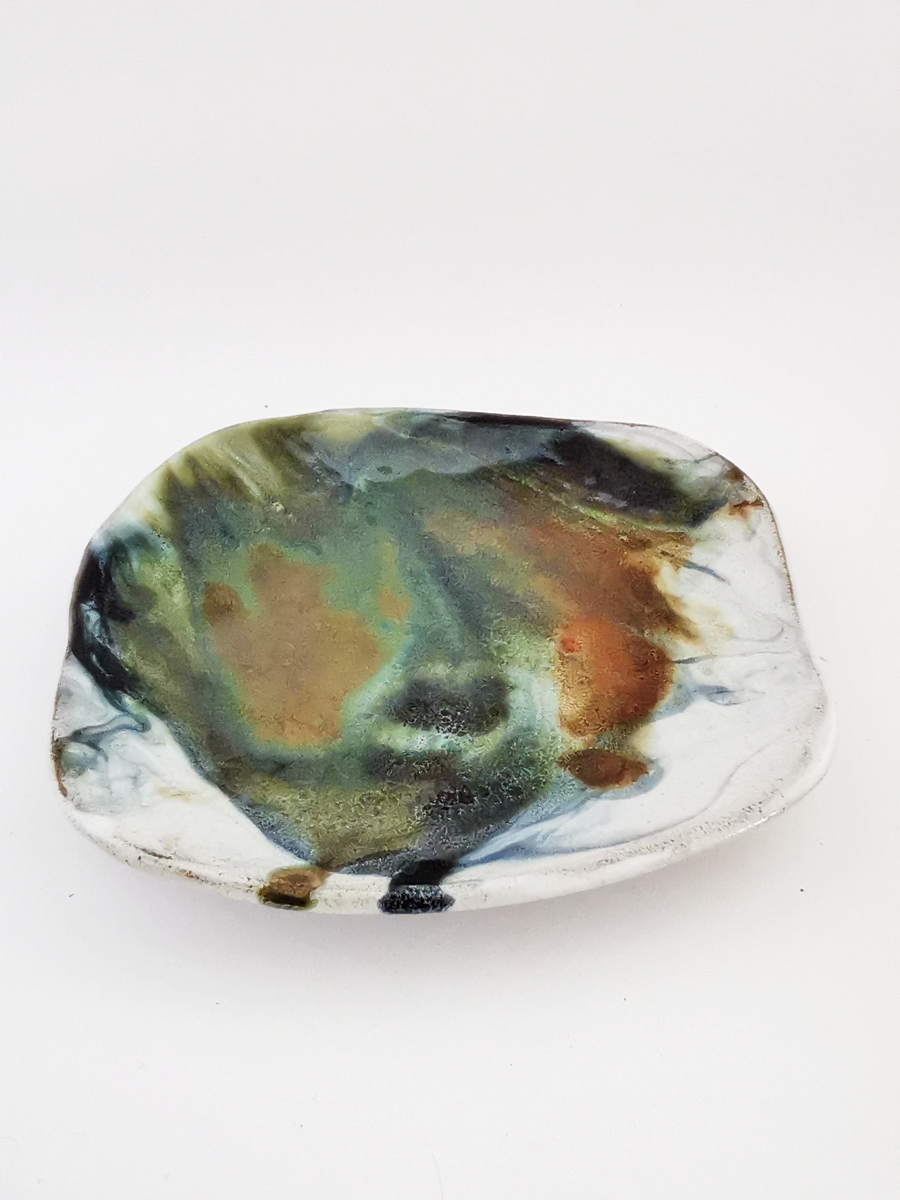
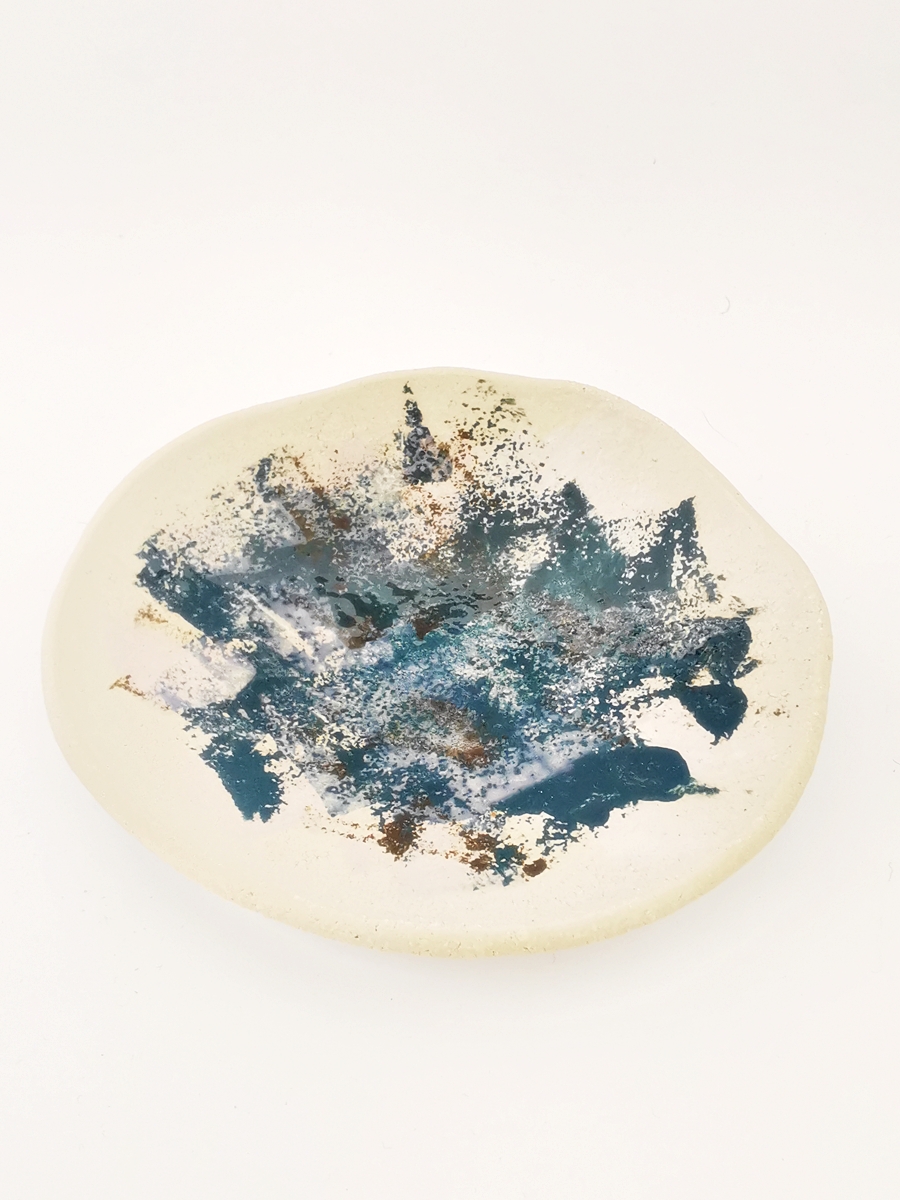
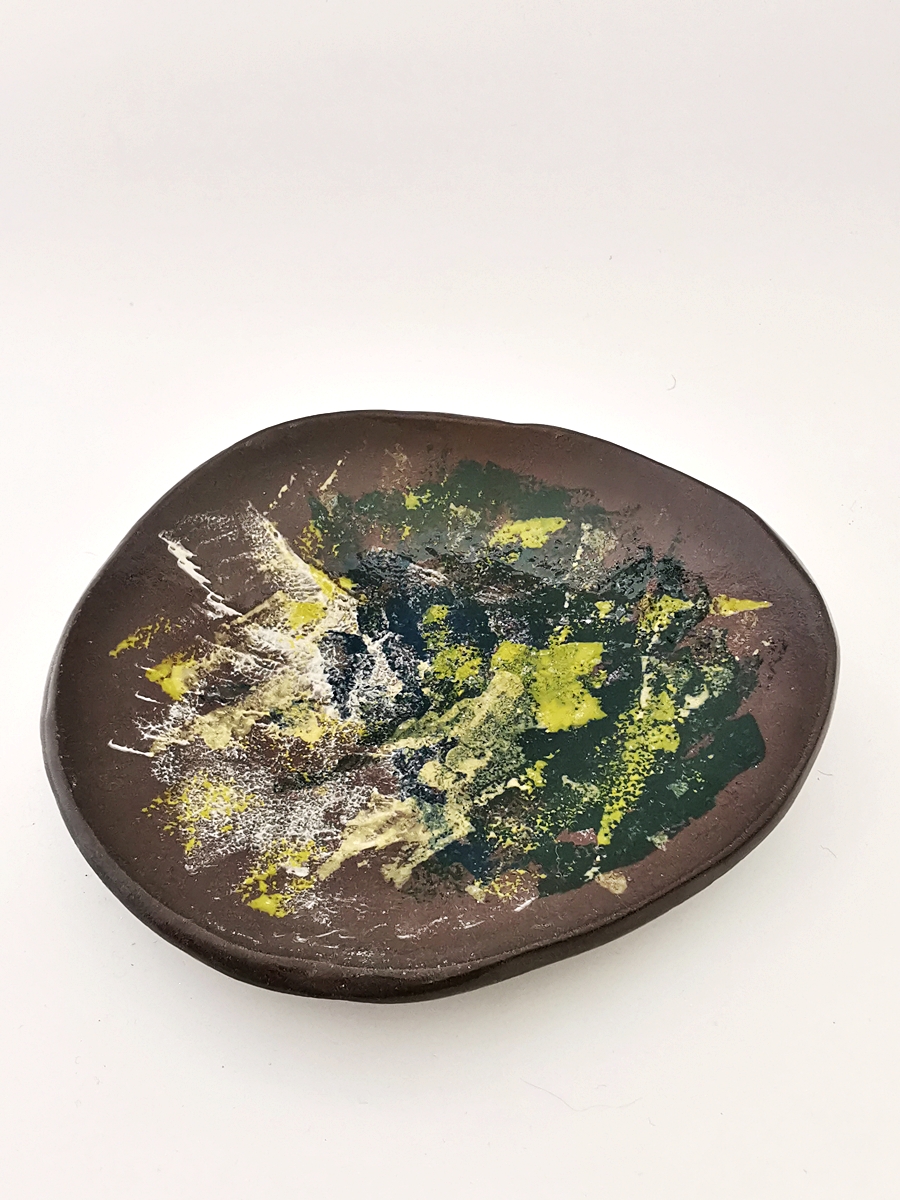
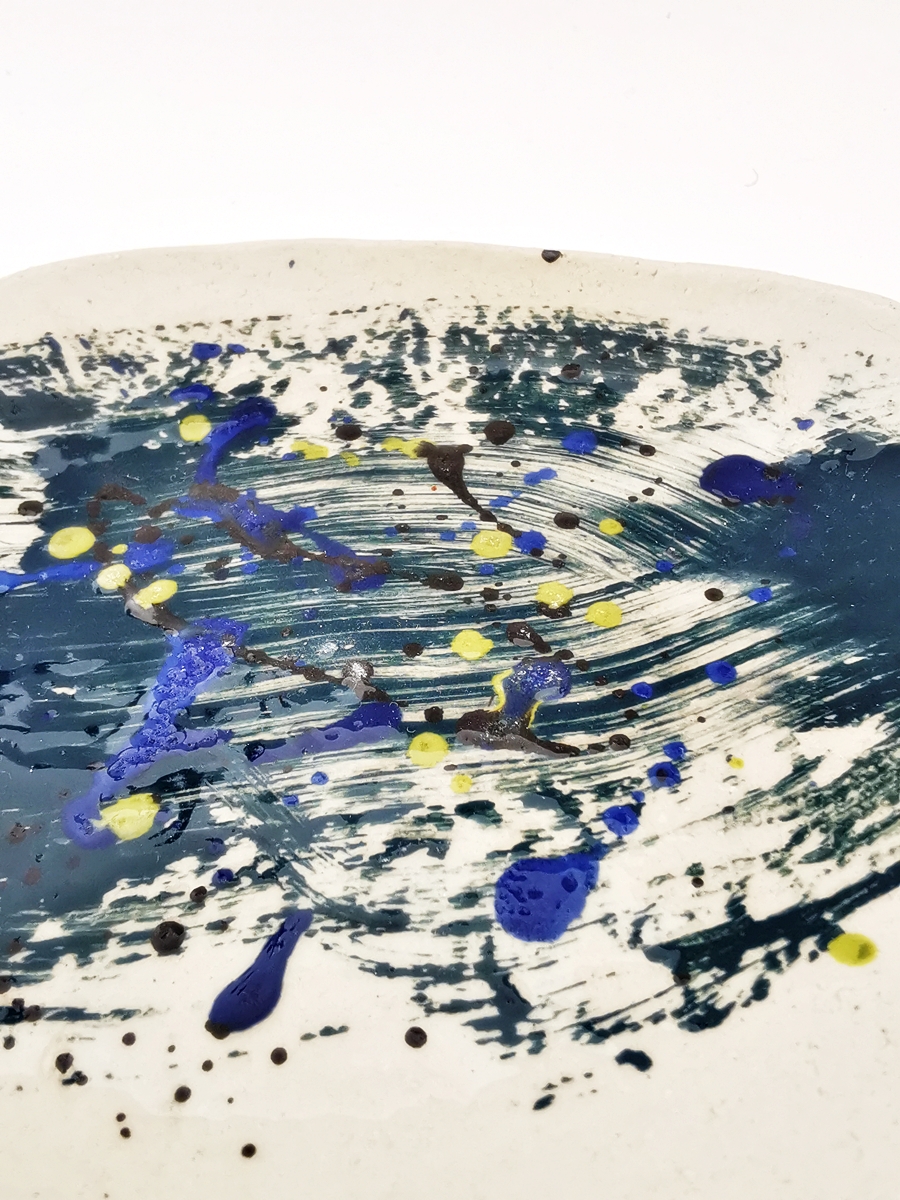
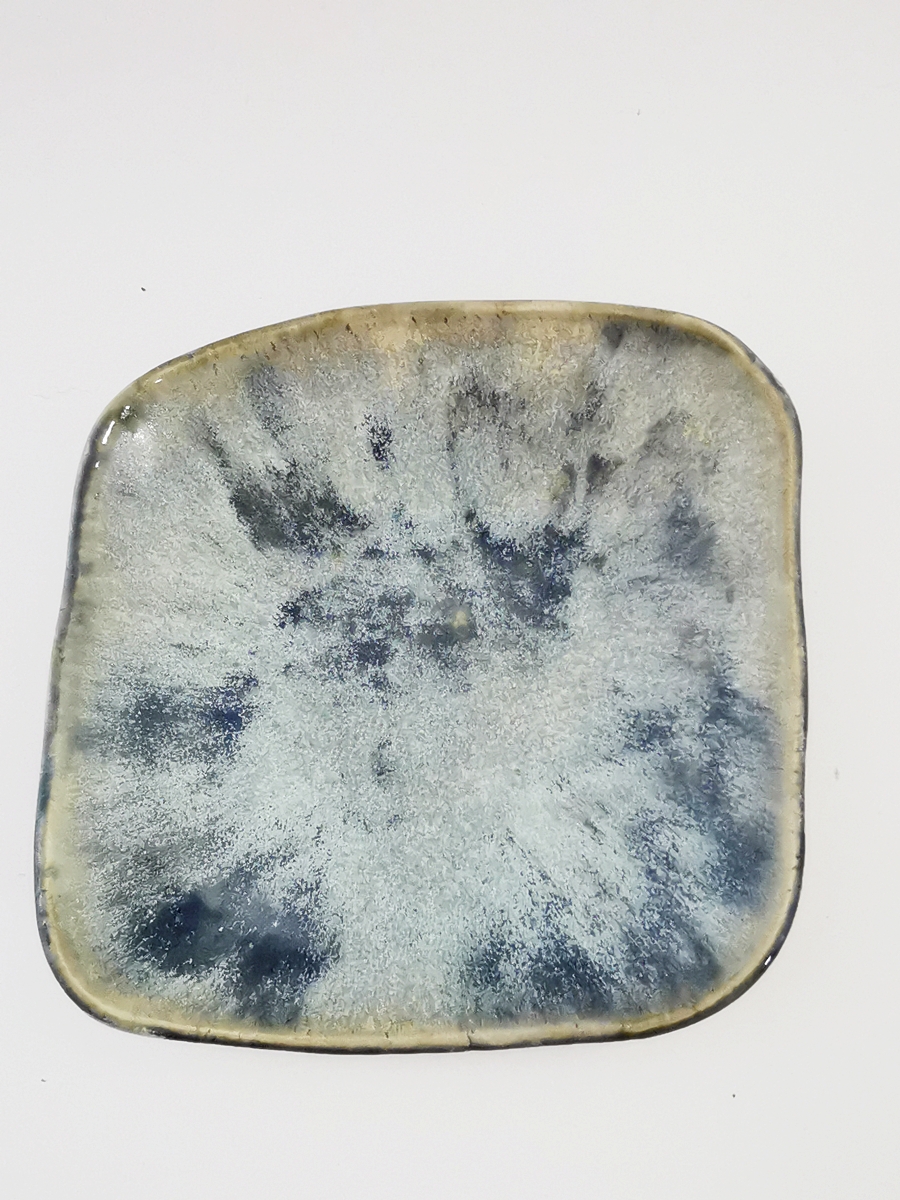
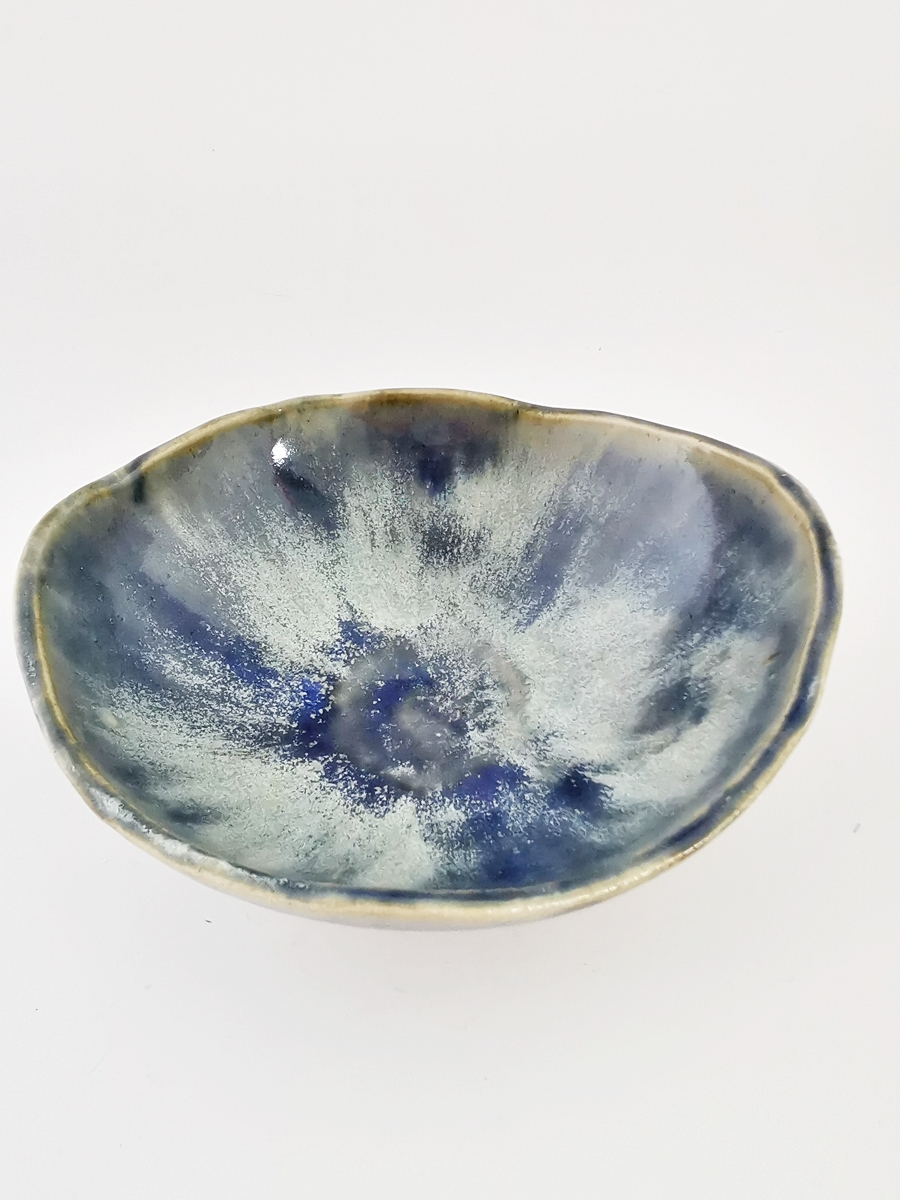
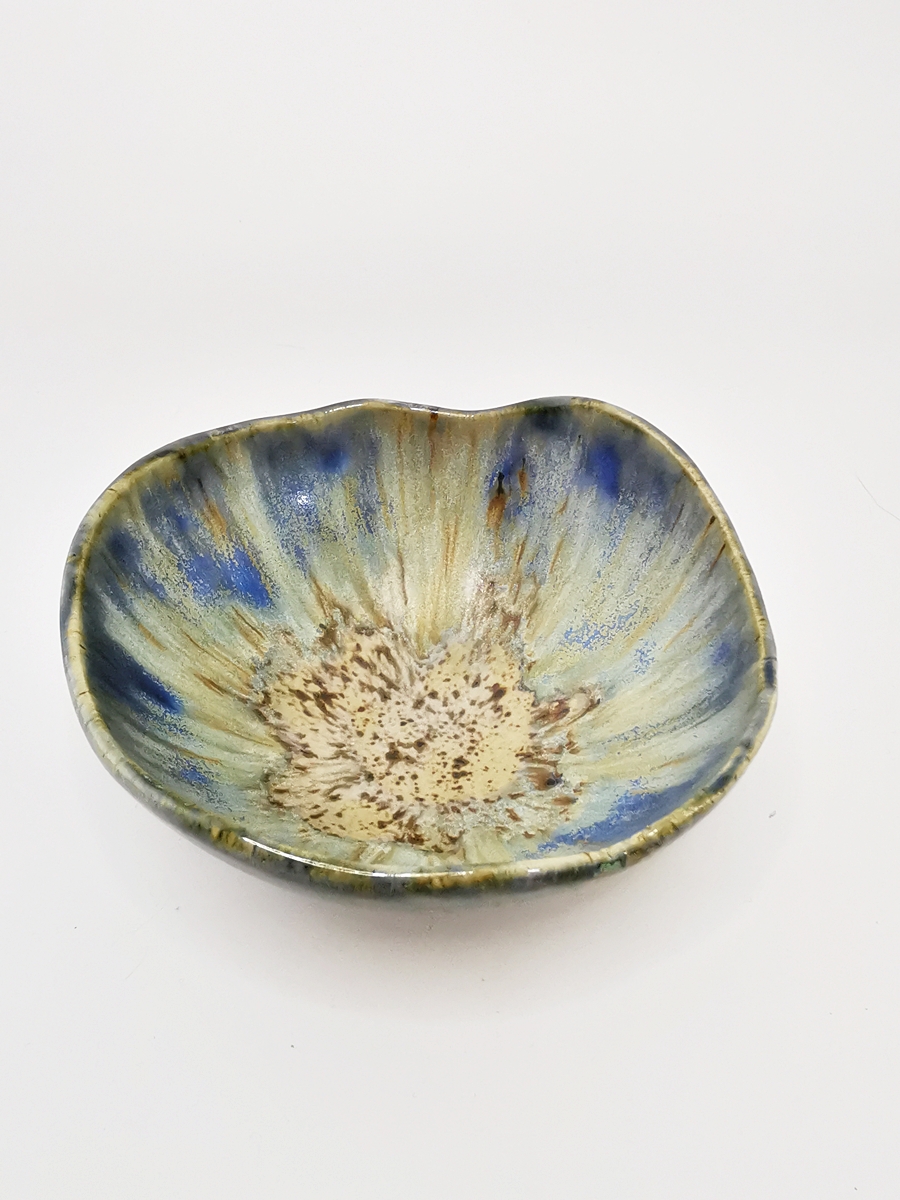
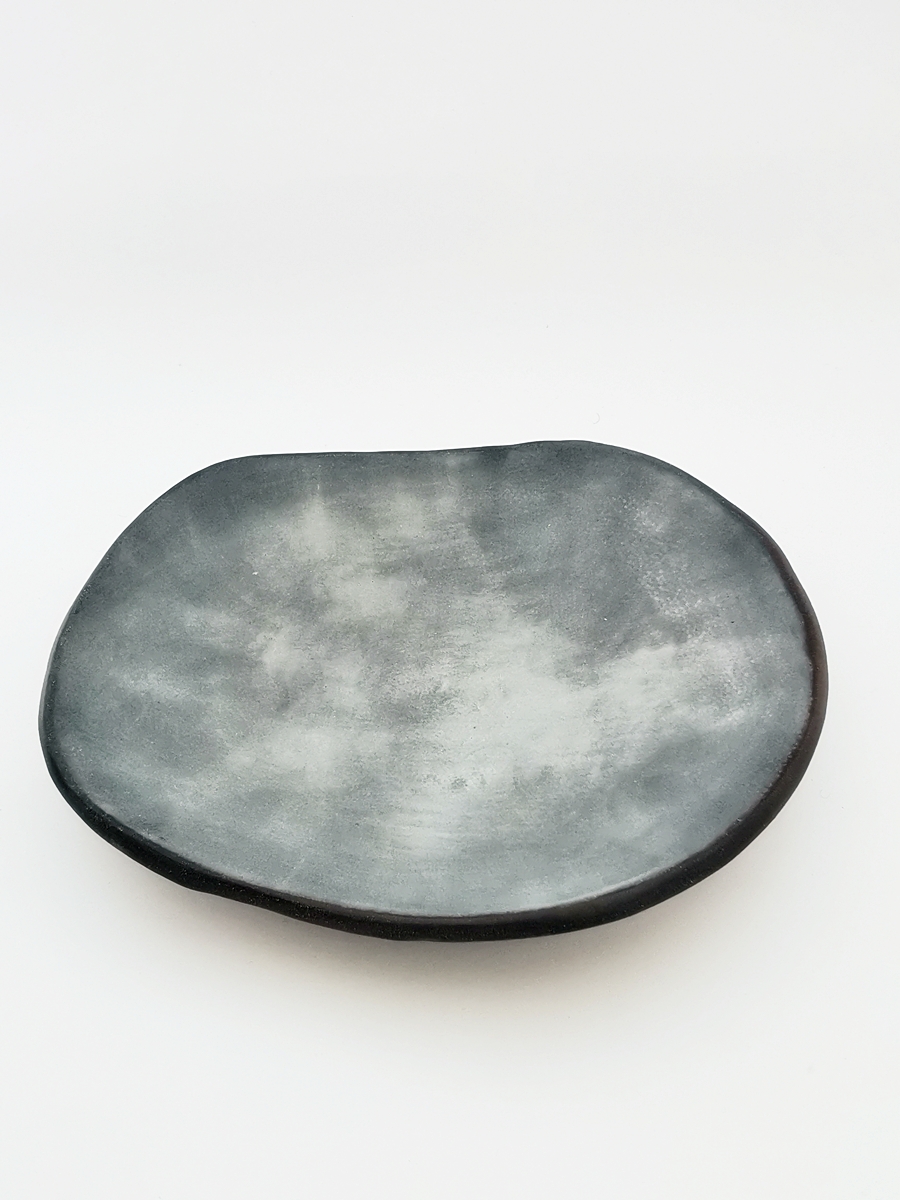
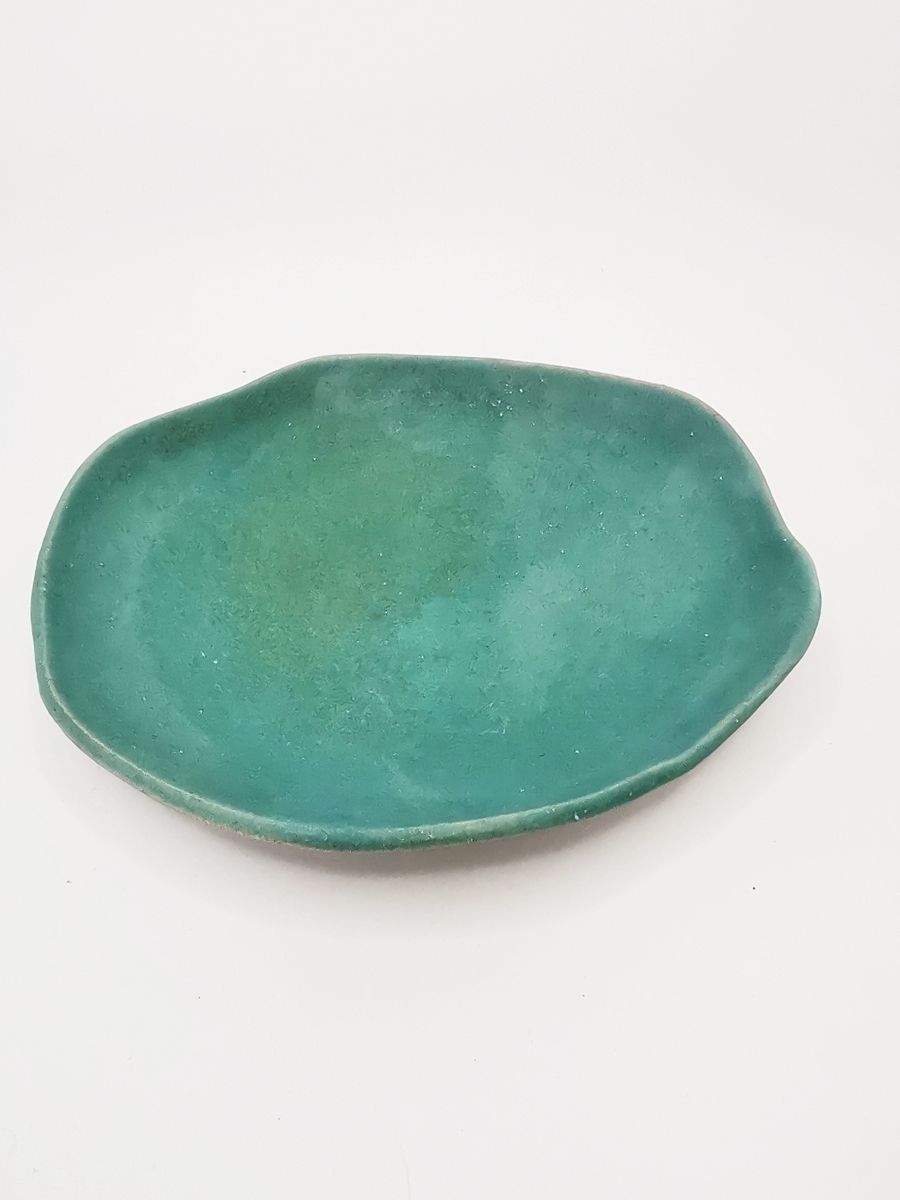
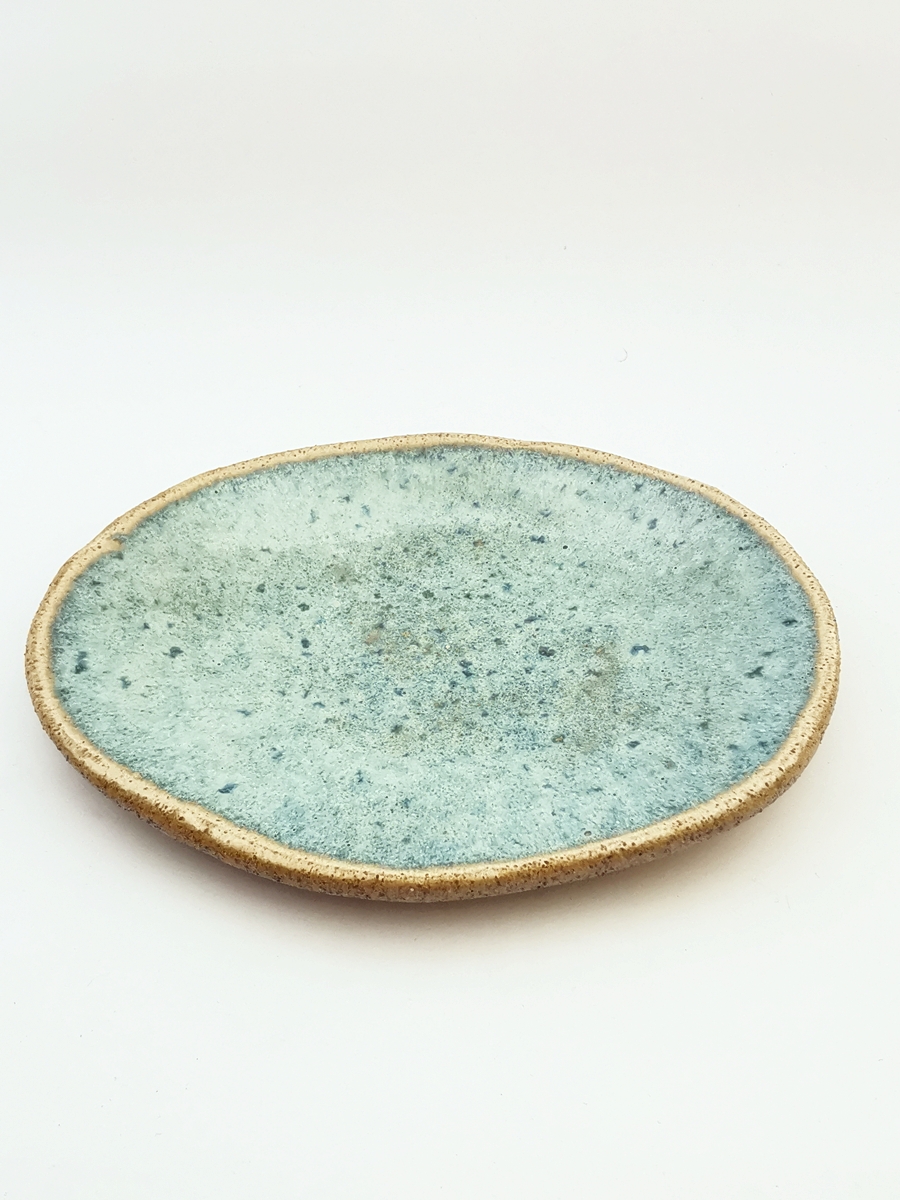
The “Svalbard” collection is inspired by the island’s rugged landscapes and natural colours. Each handmade piece reflects the textures, surfaces, and raw beauty of this Arctic environment, capturing a sense of place in every creation.

This is a small selection of the designs, colours, and shapes available.

Post Navigation

Previous Post Ash
Svalbard
Next Post Frozen Pond
Svalbard
Related Projects
Everyday Ceramic
Plates
Bees, Birds & Garden
Wind Chimes
Signature Lines
Fields
▶️ 𝗧𝗲𝘀𝘁 𝗧𝗶𝗹𝗲𝘀 - 𝗣𝗮𝗿𝘁 𝟮 ◀️ In my last video I show ▶️ 𝗧𝗲𝘀𝘁 𝗧𝗶𝗹𝗲𝘀 - 𝗣𝗮𝗿𝘁 𝟮 ◀️

In my last video I showed how I prepared a new round of test tiles. Now the kiln has cooled and it’s time for the next step.

As I mentioned before, I work with different clay bodies and fire to different temperatures. Glazes can change a lot depending on both the clay and the firing temperature.

For this round, the tiles were fired to hot cone 7, with a hold at the top temperature, because I wanted to see how the glazes behave when they are pushed a bit higher.

Once the tiles are cool enough, I start documenting everything. Using a permanent marker:

➡️ I first mark the side that had the raised area so I always know the orientation of the tile.

Then I write down all the important information: • which glaze I used

➡️ the clay body
➡️ the firing temperature
➡️ and whether there was a hold at peak temperature

This makes it so much easier to understand later what I actually did and to keep the tiles organized.

During firing, the tiles were placed two and two together, leaning against each other, so they supported one another. This way I didn’t need any extra supports to keep them upright.

I hope this video helps 💕

▶️ Follow for more ceramics tips and studio insights ◀️

#the_pinkbench #ceramictips #testtiles #potterystudio #glazetesting
😱😍 𝗟𝗼𝗼𝗸 𝘄𝗵𝗮𝘁 𝗜 𝗳𝗼𝘂𝗻𝗱 𝗶𝗻 𝗺𝘆 𝗘𝗮𝘀𝘁𝗲𝗿 𝗘𝗴𝗴 😬😬🐰 One thi 😱😍 𝗟𝗼𝗼𝗸 𝘄𝗵𝗮𝘁 𝗜 𝗳𝗼𝘂𝗻𝗱 𝗶𝗻 𝗺𝘆 𝗘𝗮𝘀𝘁𝗲𝗿 𝗘𝗴𝗴 😬😬🐰

One thing I really miss about Austria, now that I’m living in Norway, is the original Mozartkugeln 😂

😬 So I couldn’t believe my eyes when I recently found them on sale in a shop here in Norway 🥳

Of course, I had to put some into my Easter egg 🐰And I’m so happy about it - every time I open it 😇

#the_pinkbench #ceramics #easterbunnies #mozartkugeln #eastereggs🐣
🐰 ▶️ 𝗘𝗮𝘀𝘁𝗲𝗿 𝗕𝘂𝗻𝗻𝗶𝗲𝘀 & 𝗙𝗿𝗶𝗲𝗻𝗱𝘀 ◀️🐰 💞 Today was one 🐰 ▶️ 𝗘𝗮𝘀𝘁𝗲𝗿 𝗕𝘂𝗻𝗻𝗶𝗲𝘀 & 𝗙𝗿𝗶𝗲𝗻𝗱𝘀 ◀️🐰

💞 Today was one of those happy kiln opening days you always hope for 😬😍

I can’t stop looking at these funny Easter bunnies and their little or rather big sheep friends 🤣

They were so much work to produce, especially painting all the tiny details and making the sheeps fur, but I’m so happy they all survived the kiln 🥳

Only one little bee decided to land on an ear 🐝

The others stayed upright thanks to the wire, and they turned out even better than I had hoped 💞

I hope they make you smile a little too 😬

▶️Follow me for more tips and hacks ◀️

#the_pinkbench #ceramics #kilnopening #easter #eaterbunny
🐰 ▶️ 𝗘𝗮𝘀𝘁𝗲𝗿 𝗕𝘂𝗻𝗻𝗶𝗲𝘀 ◀️ 🐰 😬 I had an idea for my 🐰 ▶️ 𝗘𝗮𝘀𝘁𝗲𝗿 𝗕𝘂𝗻𝗻𝗶𝗲𝘀 ◀️ 🐰 

😬 I had an idea for my Easter bunnies collection and I wasn’t sure if it would work 😅

I wanted tiny bees 🐝 to look like they are flying above the bunnies’ noses 😱 To do that, I connected each bee with a special wire and will fire them to a higher temperature 🥵

🔥But firing with wire is always a bit risky — it can melt, weaken, or collapse and ruin the whole piece 👀

So I’m keeping my fingers crossed that everything will survive the kiln just as I imagined 😬

▶️ 𝗦𝘁𝗮𝘆 𝘁𝘂𝗻𝗲𝗱 𝗳𝗼𝗿 𝘁𝗵𝗲 𝗻𝗲𝘅𝘁 𝘃𝗶𝗱𝗲𝗼 𝘄𝗵𝗲𝗿𝗲 𝗜’𝗹𝗹 𝘀𝗵𝗼𝘄 𝘆𝗼𝘂 𝗵𝗼𝘄 𝘁𝗵𝗲 𝗳𝗶𝗻𝗶𝘀𝗵𝗲𝗱 𝗯𝘂𝗻𝗻𝗶𝗲𝘀 𝘁𝘂𝗿𝗻𝗲𝗱 𝗼𝘂𝘁 ◀️

#the_pinkbench #easterbunnies #handmadeceramics #kilnmagic #norisknofun
Follow on Instagram

Phone Number

+47 482 67 904 or +43 664 349 5789

Email

office@thepinkbench.com

Opening Times

by arrangement
© Copyright 2026 || The Pink Bench by Kristina Seemayer || All Rights Reserved.