Skip to Content
  • About
  • Portfolio
  • Stockists
  • Care Guide
  • Order, Shipping, Return & Refund
  • Contact
  • Wholesale 2026
||  Ceramic inspired by Svalbard and the beauty of nature  ||

|| Ceramic inspired by Svalbard and the beauty of nature ||

Login
0 Wishlist
0 kr 0,00

Basket

  • EasterThese handmade ceramic Easter pieces are fully functional decorative items. Due to the handmade process, small variations in glaze, color, or shape may occur, making every piece unique.
  • See all
  • Signature Lines
    • Ash
    • Bubbles
    • Darkness
    • Earth
    • Fields
    • Frozen Pond
    • Furry Friends
    • Ocean
    • Oil
    • Rust
    • Svalbard
  • Everyday Ceramic
    • Baskets
    • Bowls
    • Charcuterie Boards
    • French Butter Dish
    • Garlic Grater
    • Heart Plates
    • Jars
    • Mugs & Cups
    • Oil bottles
    • Plates
    • Ring Dish
    • Salt PigsCeramic salt pigs, handcrafted with care — a decorative & functional piece for your table and kitchen.
    • Spoon Rest
    • Spoons
    • Tea Pots
    • Utensil Holder
    • Vases
  • Paws, Wings & Garden
    • Bee Fountains
    • Bird Feeders
    • Cat FountainA cat fountain that keeps your feline hydrated with fresh, flowing water.
    • Flower Pots
    • Food BowlsCarefully designed food bowls with low edges to avoid irritating sensitive whiskers, making mealtime comfortable for cats and dogs.
    • Wind Chimes
  • Jewellery
    • Earrings
    • Neckless
  • Workshops & Downloads
  • SALE %
Home PortfoliosOil

Oil

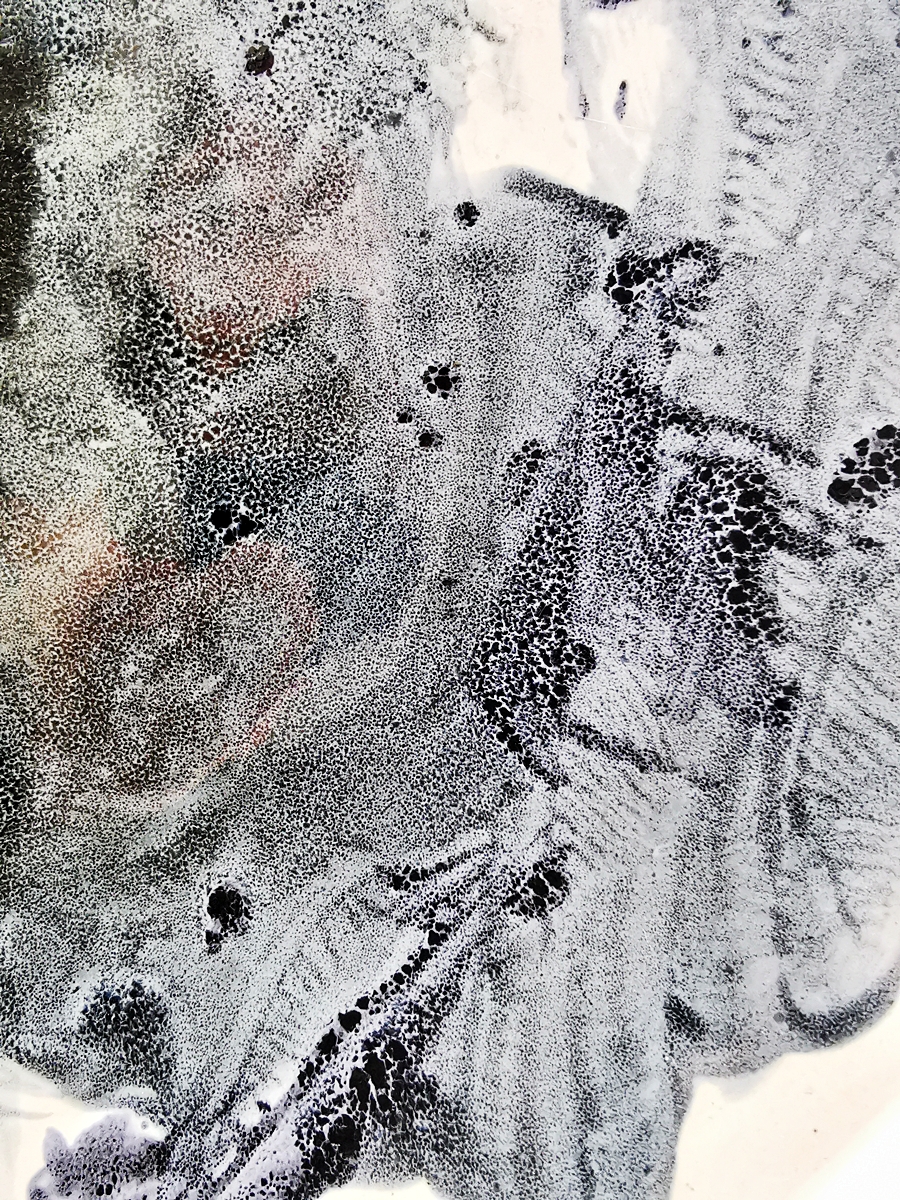
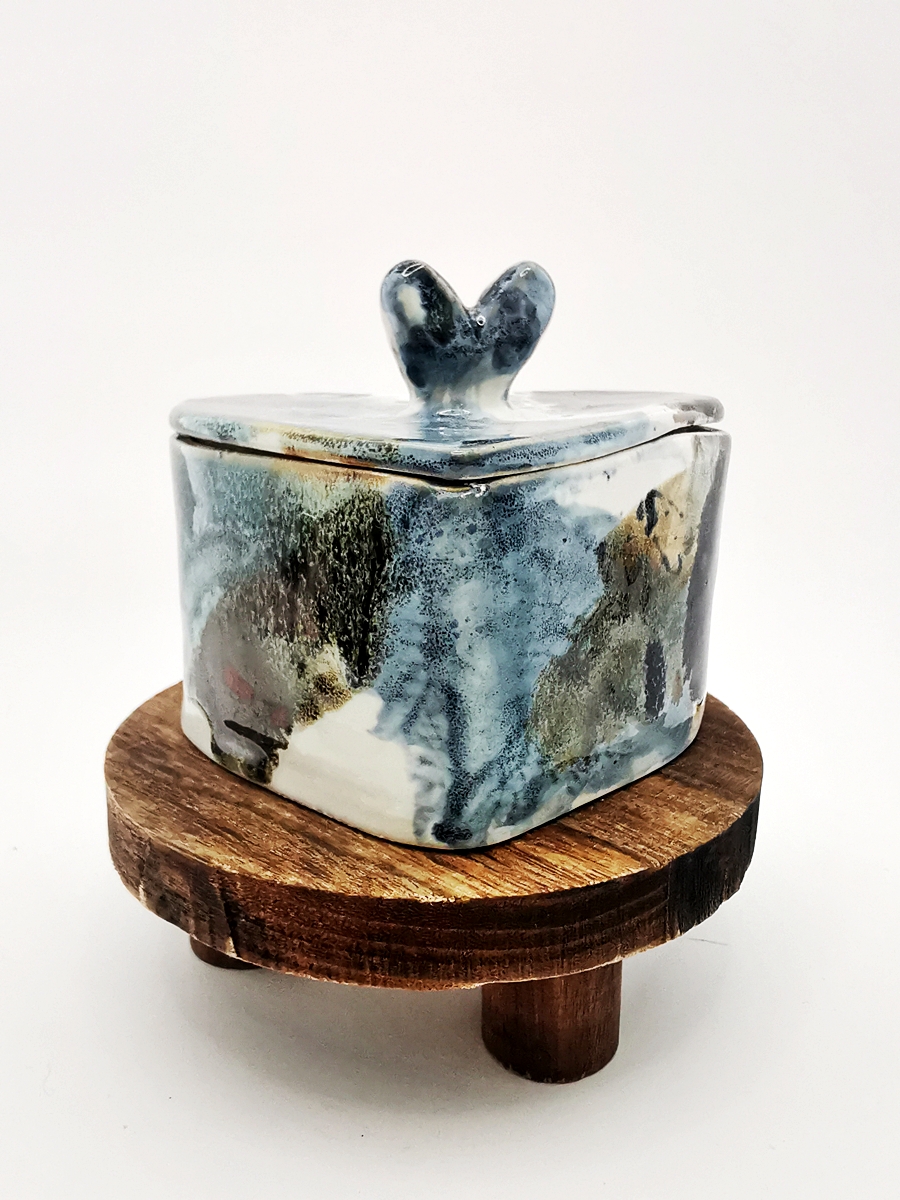
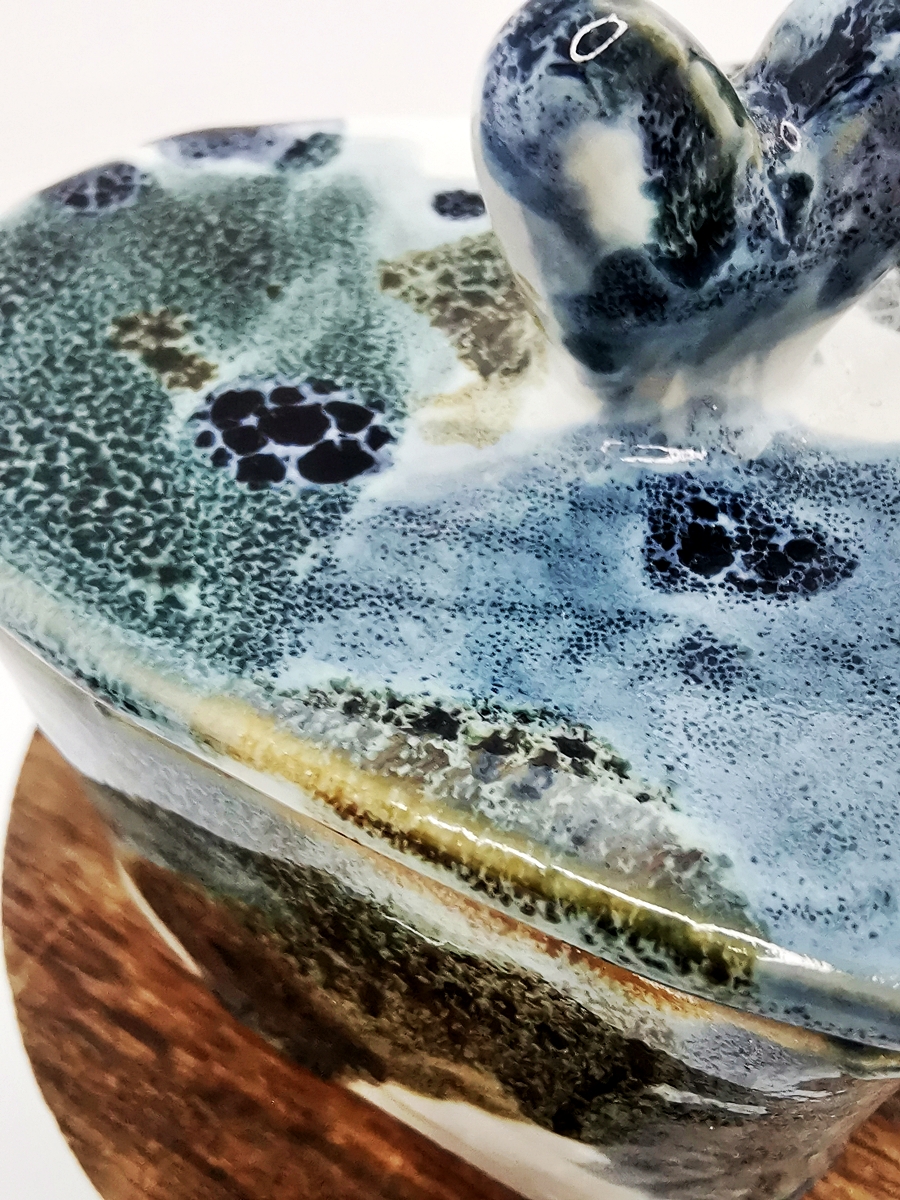
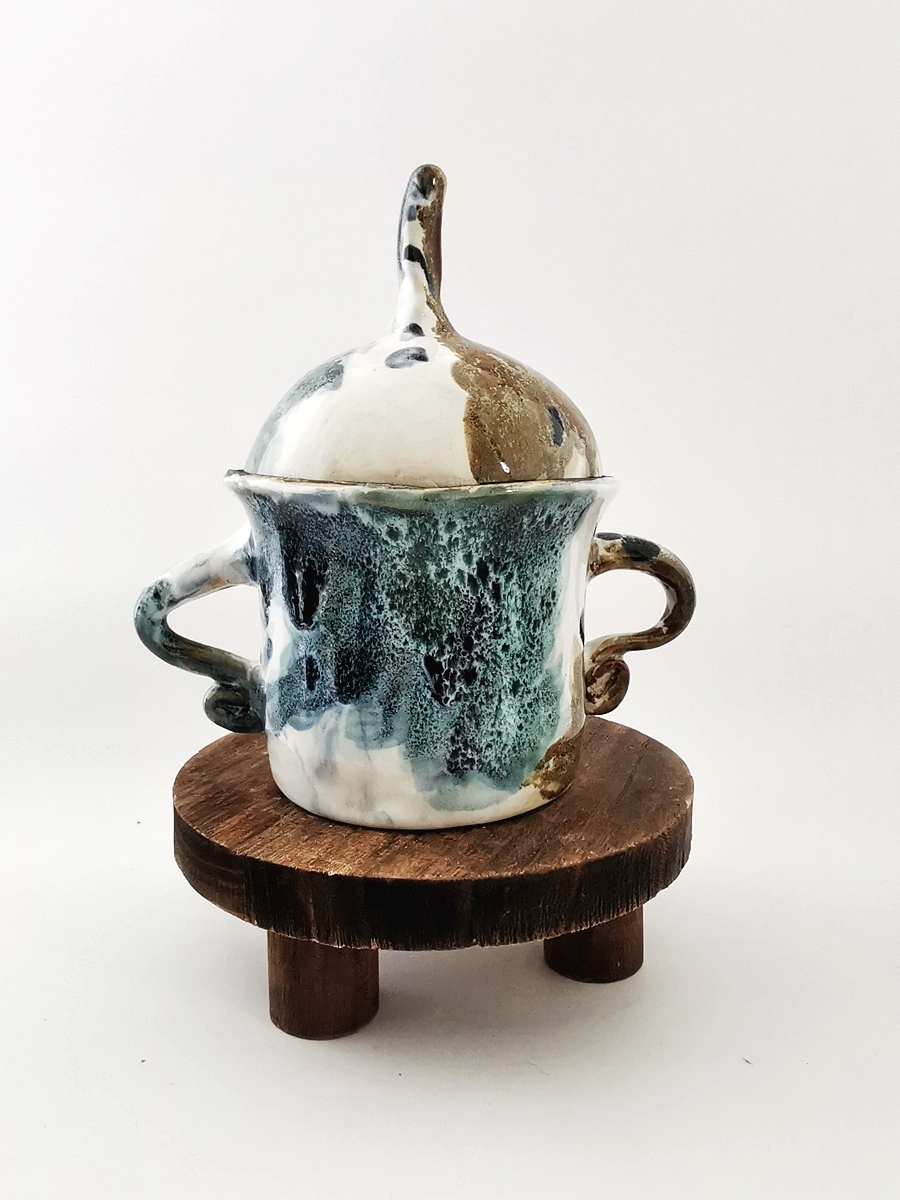
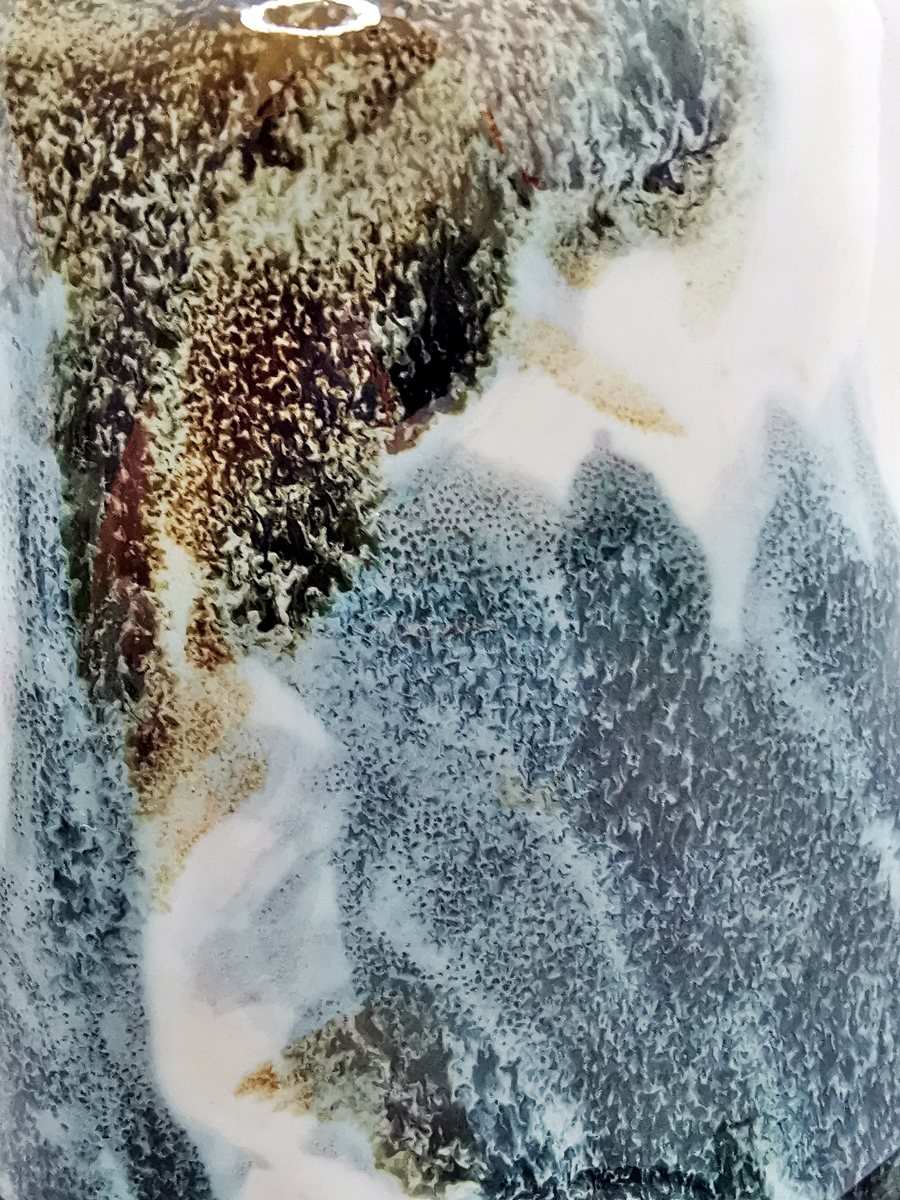
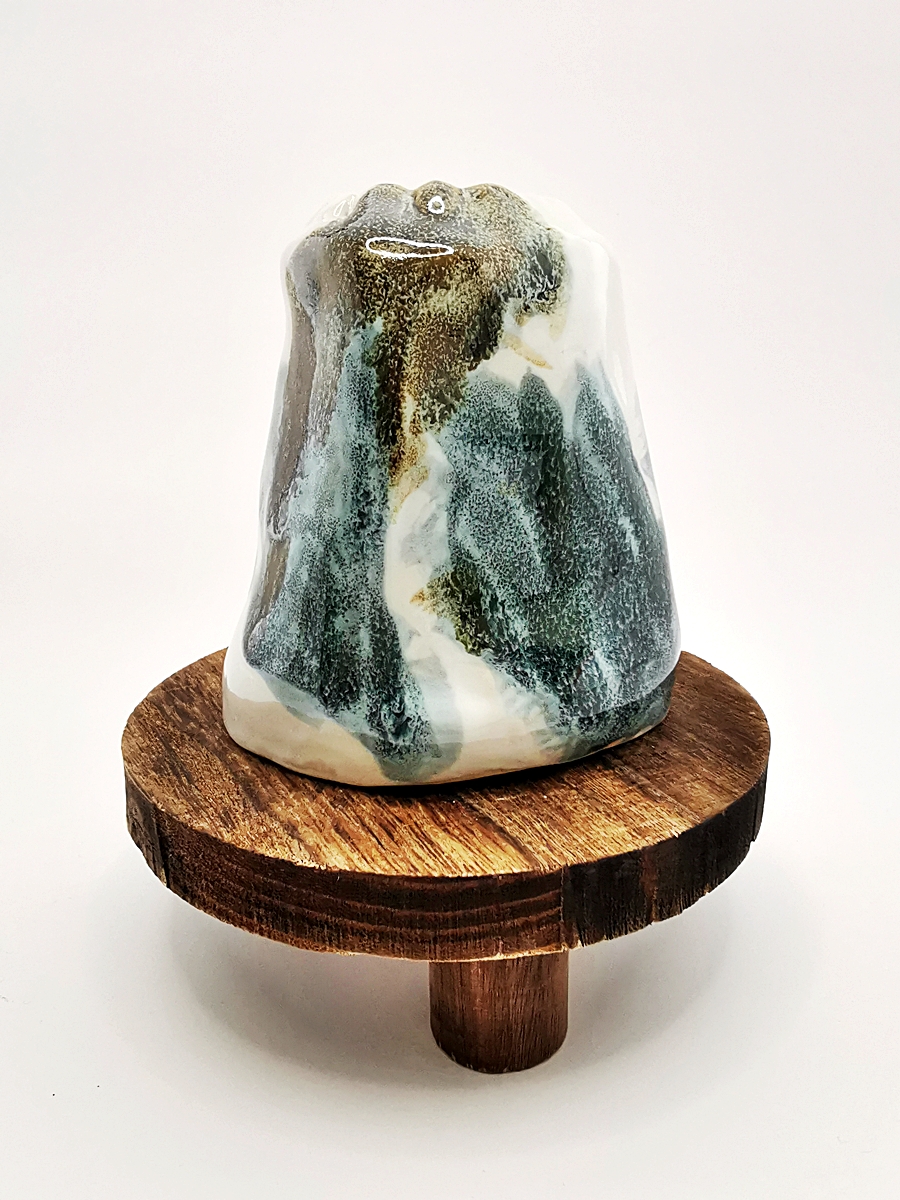
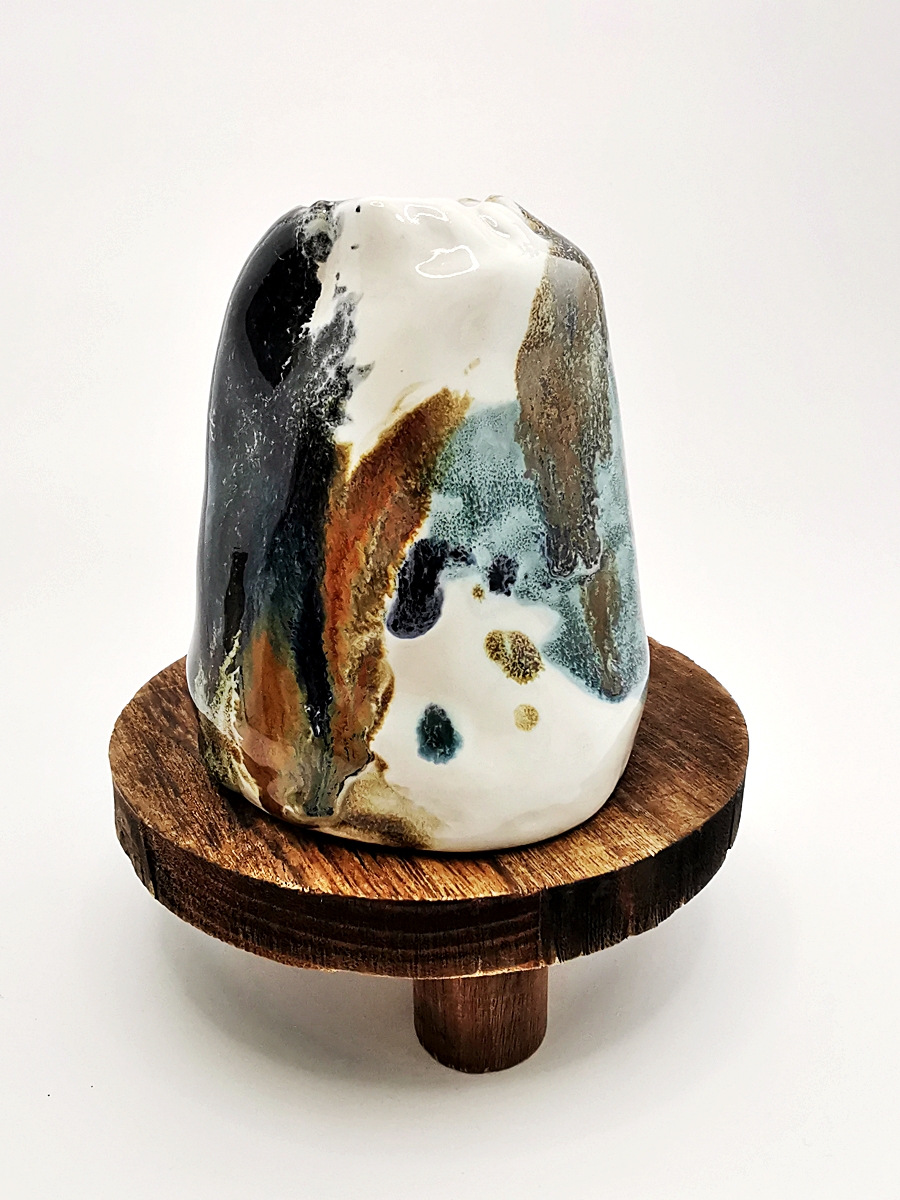
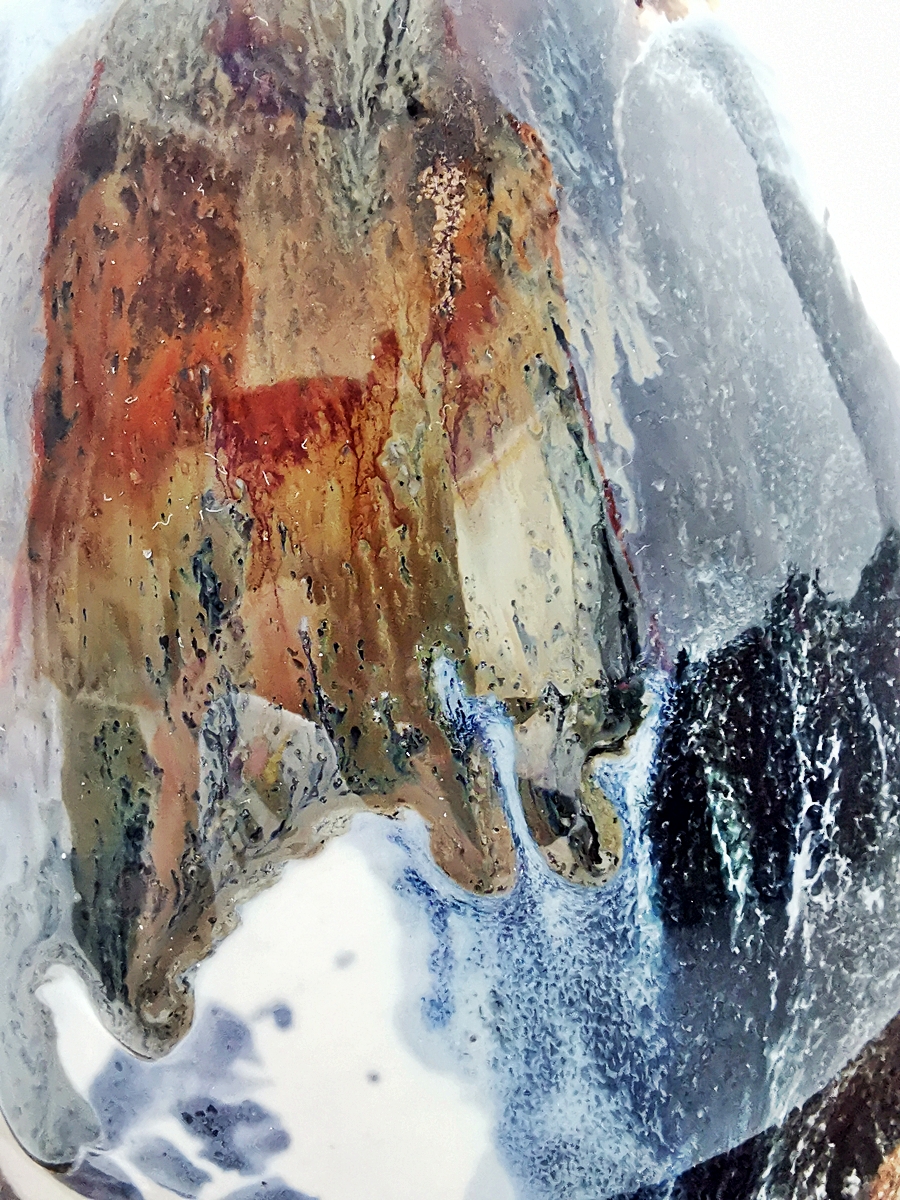
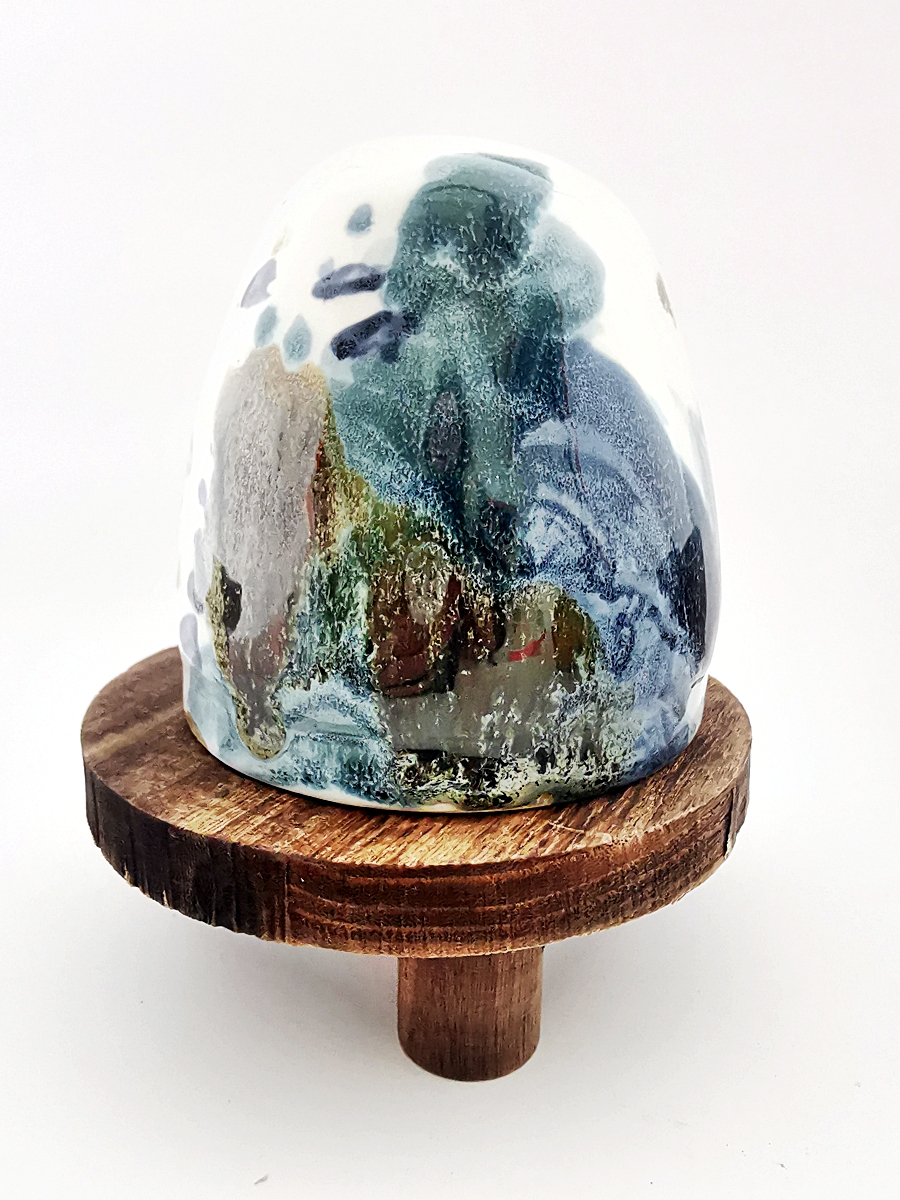
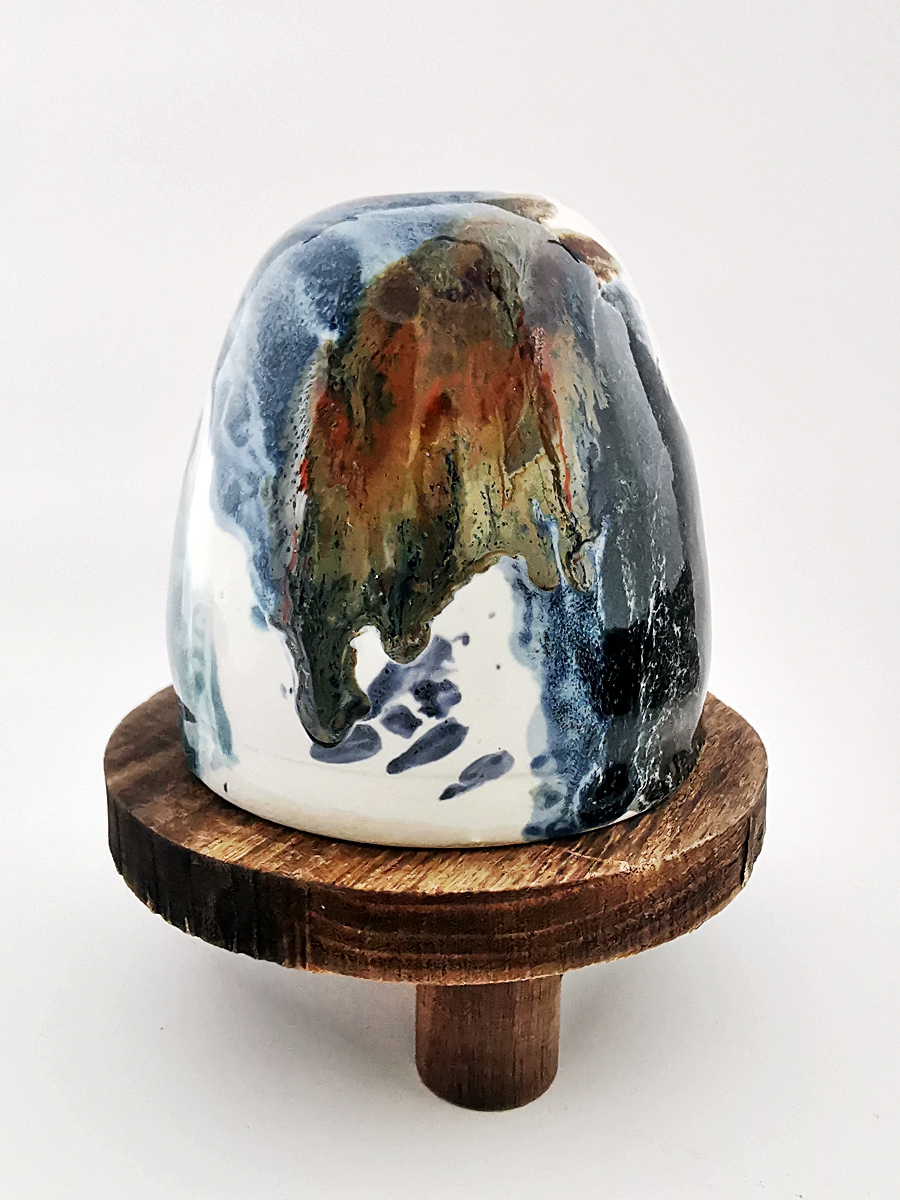
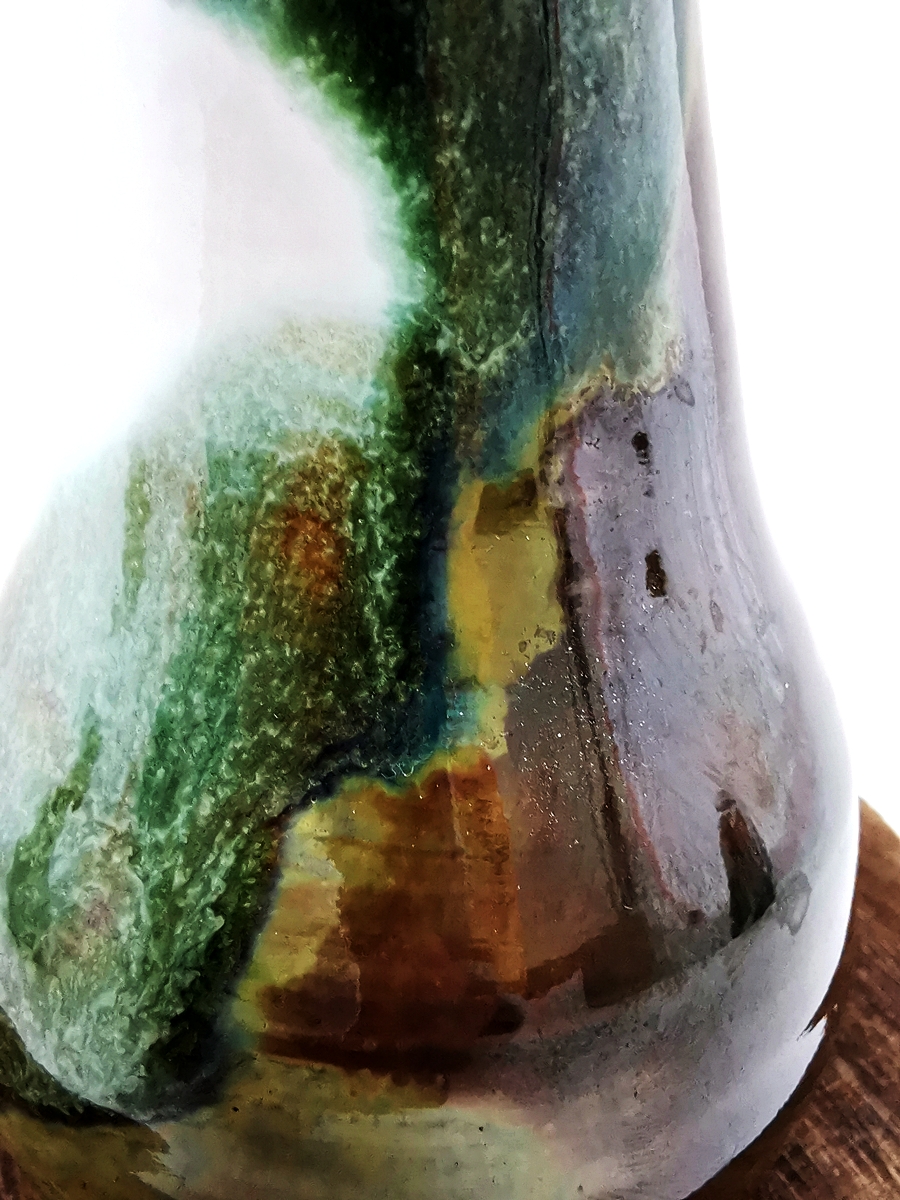
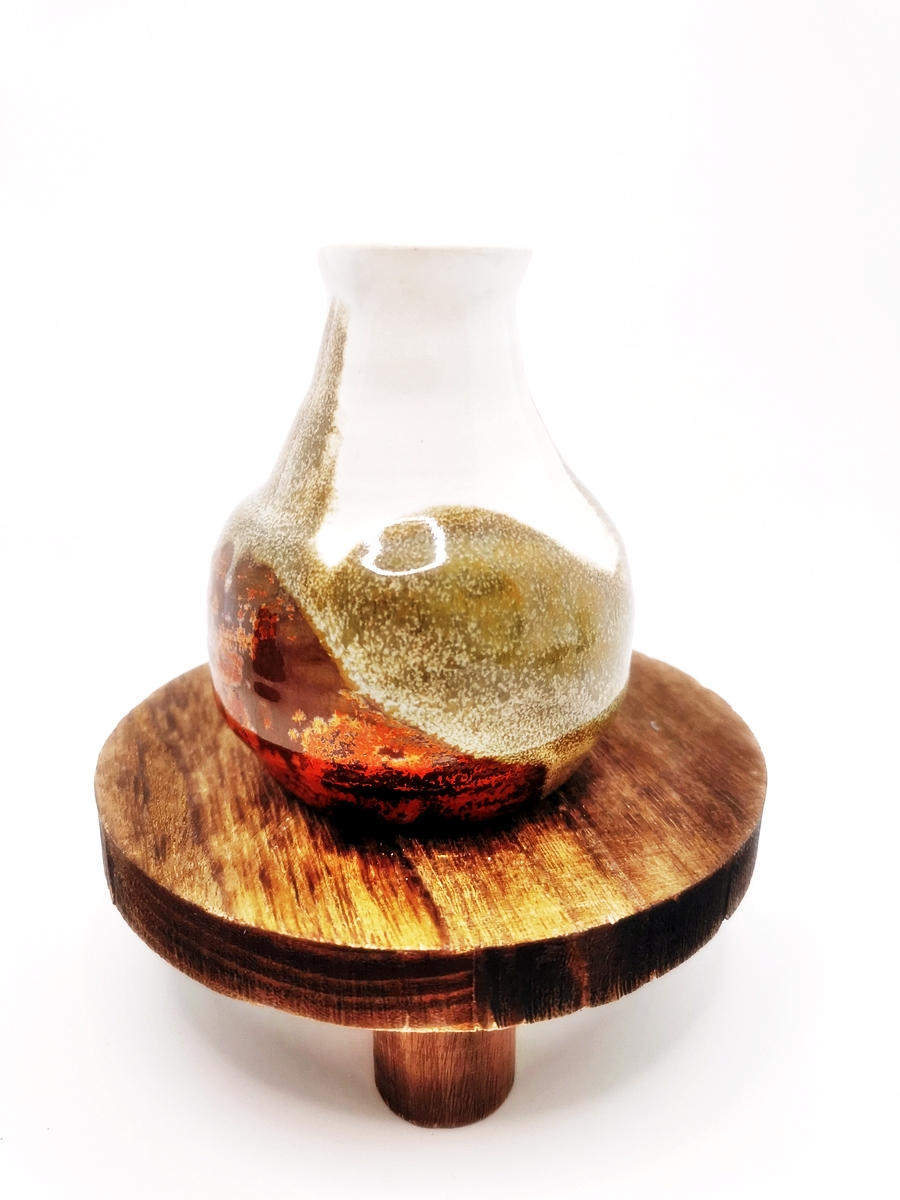
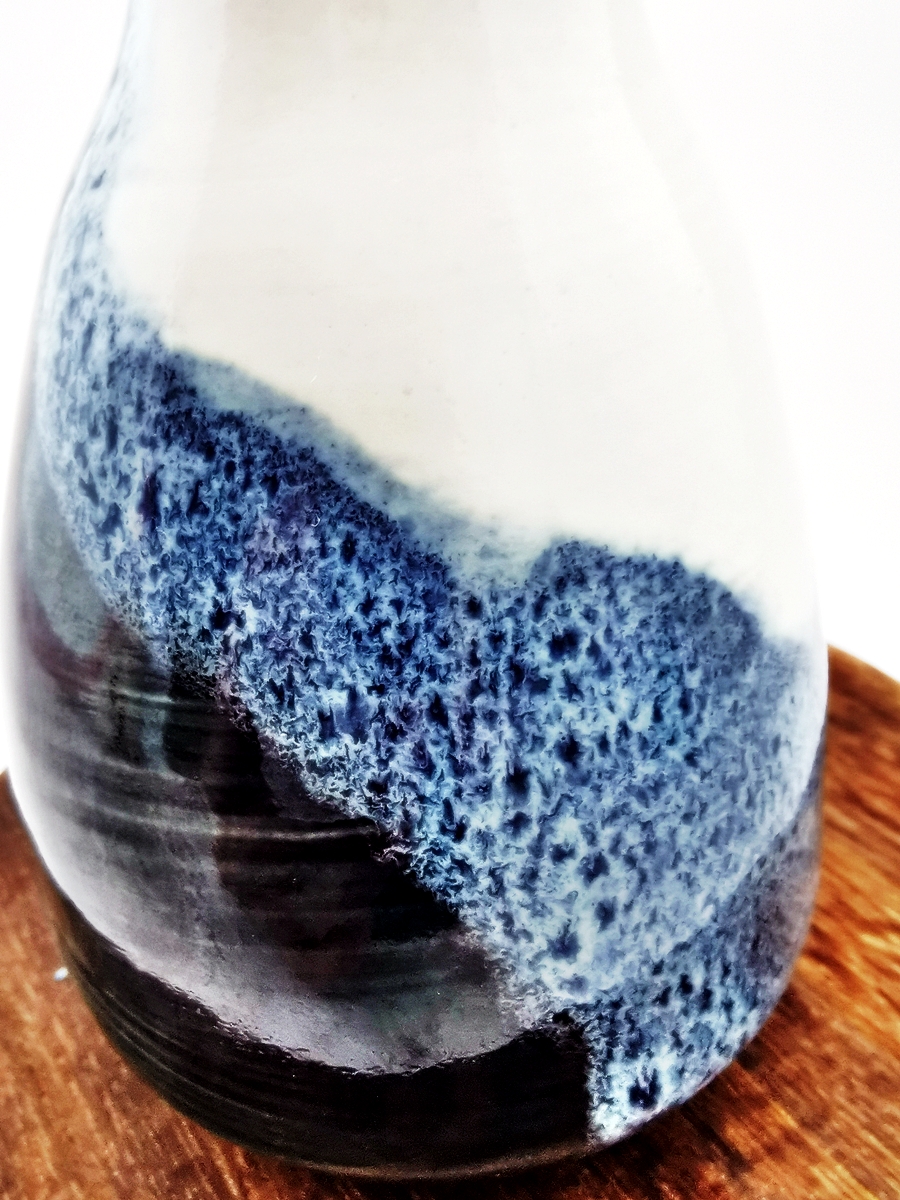
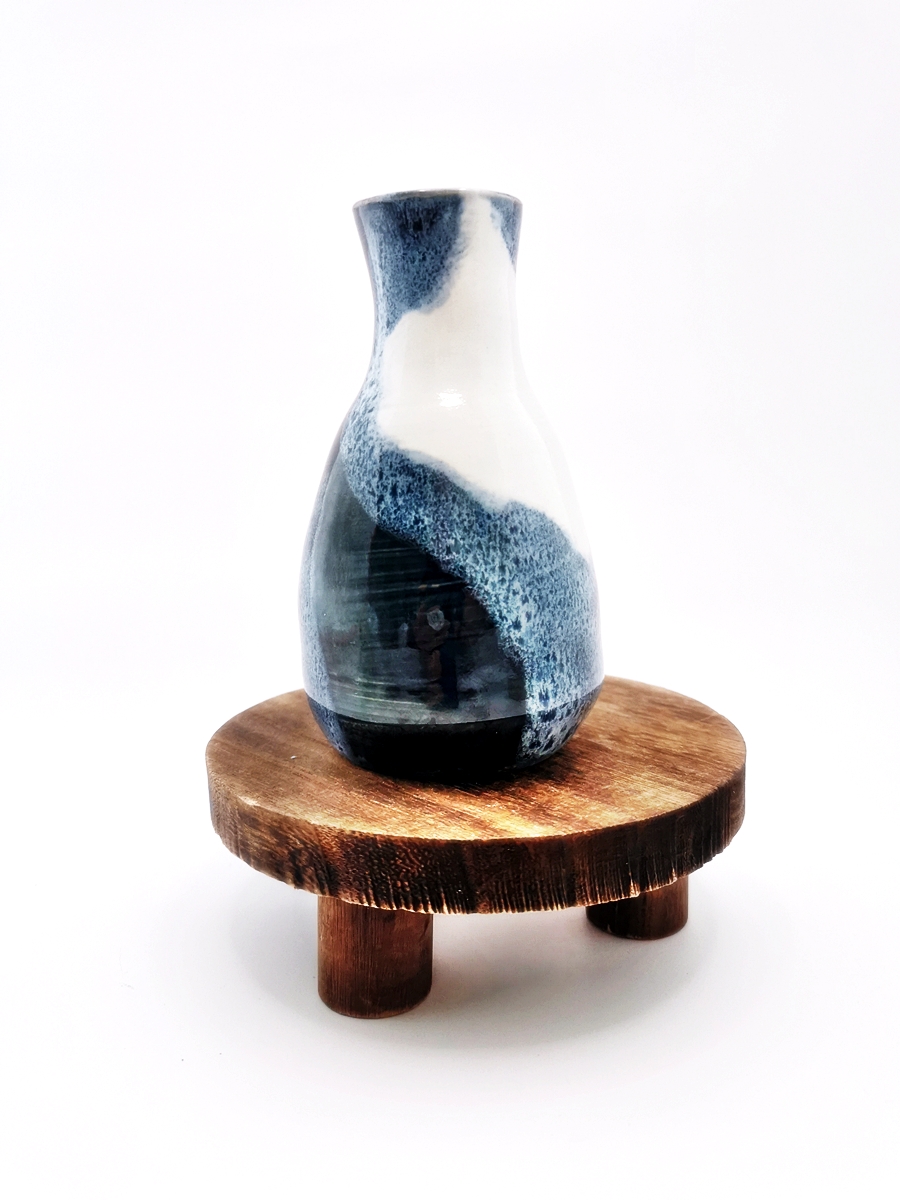
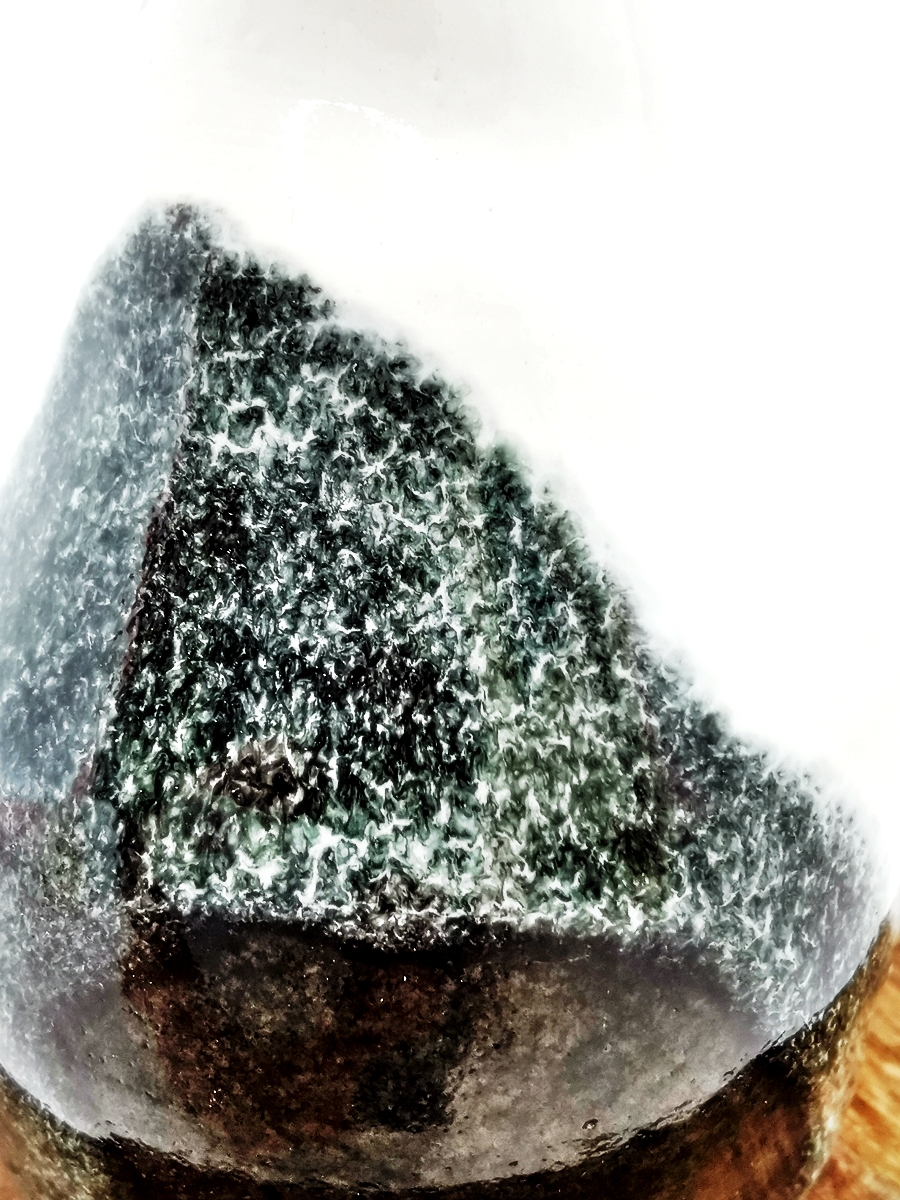
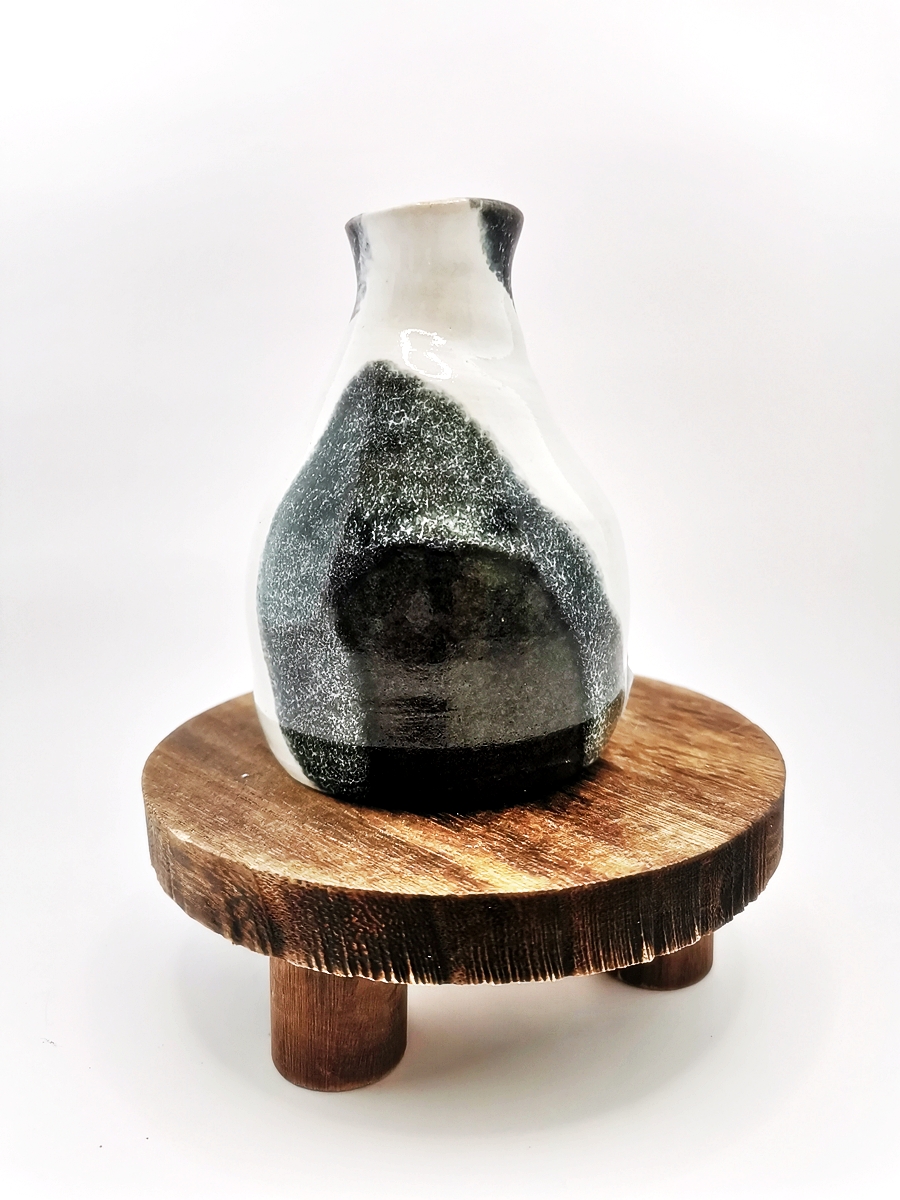
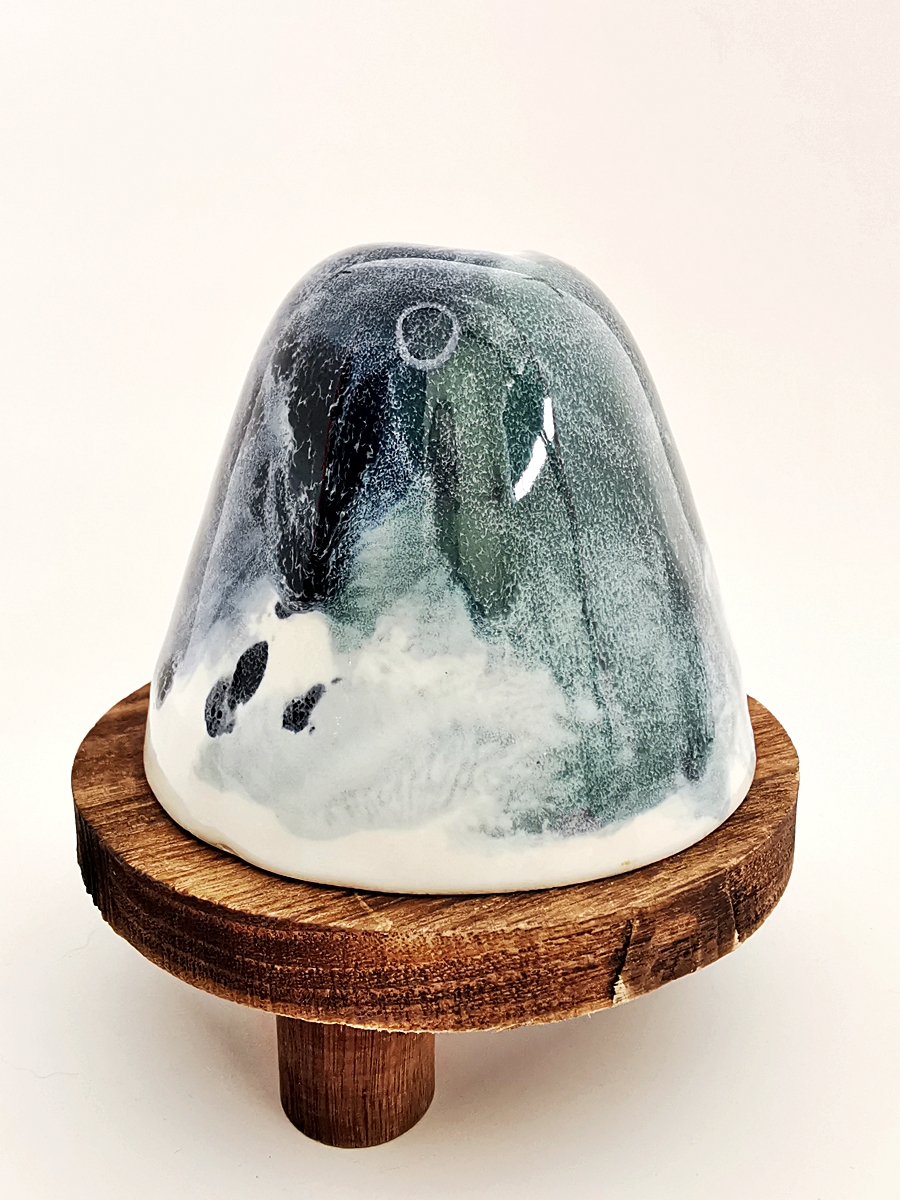
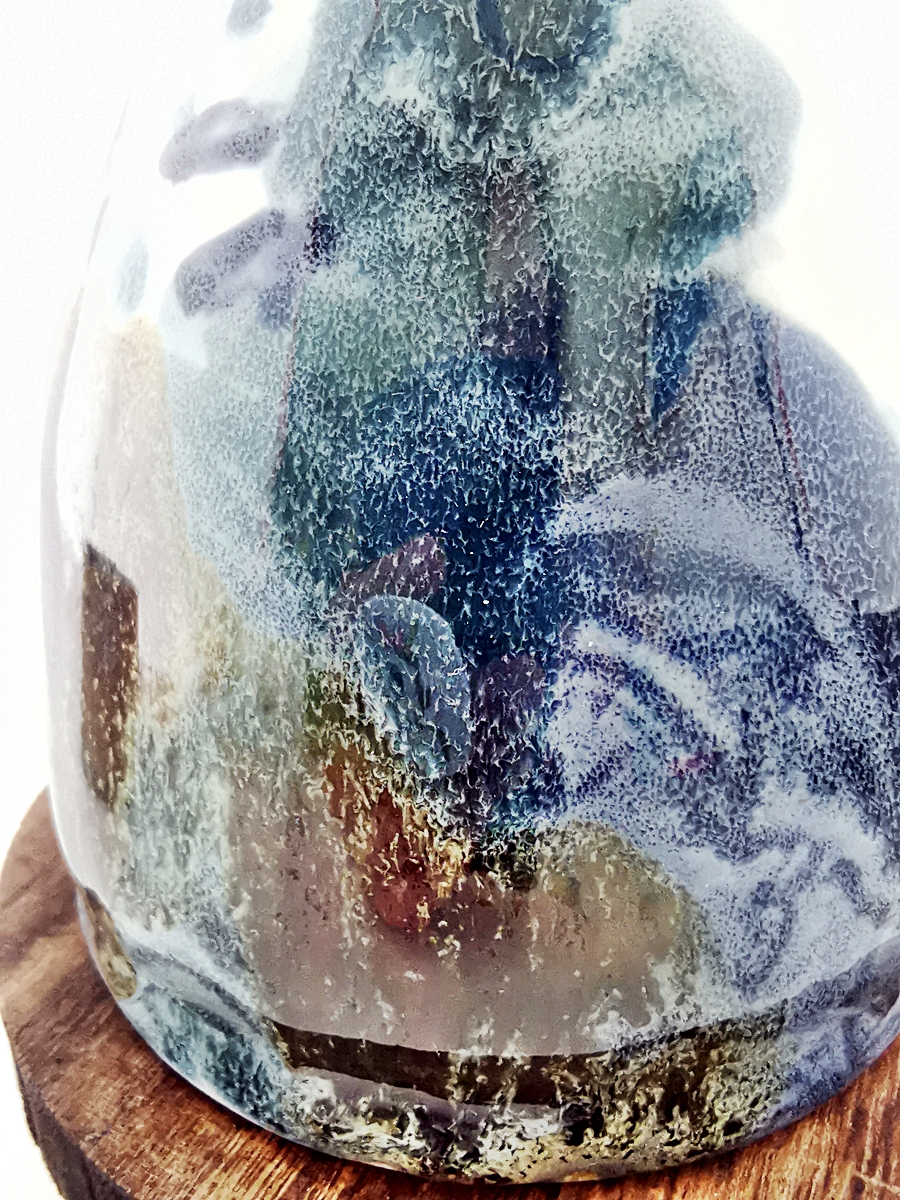
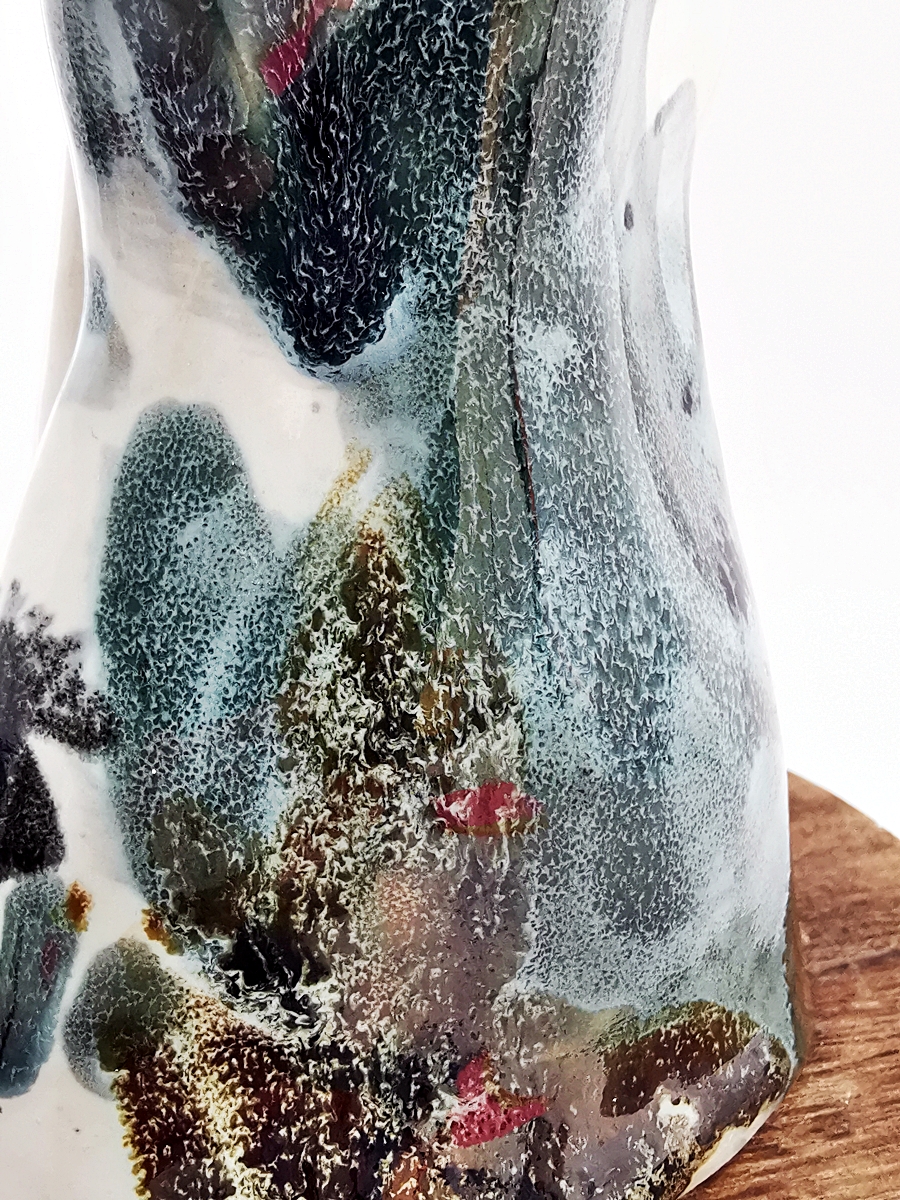
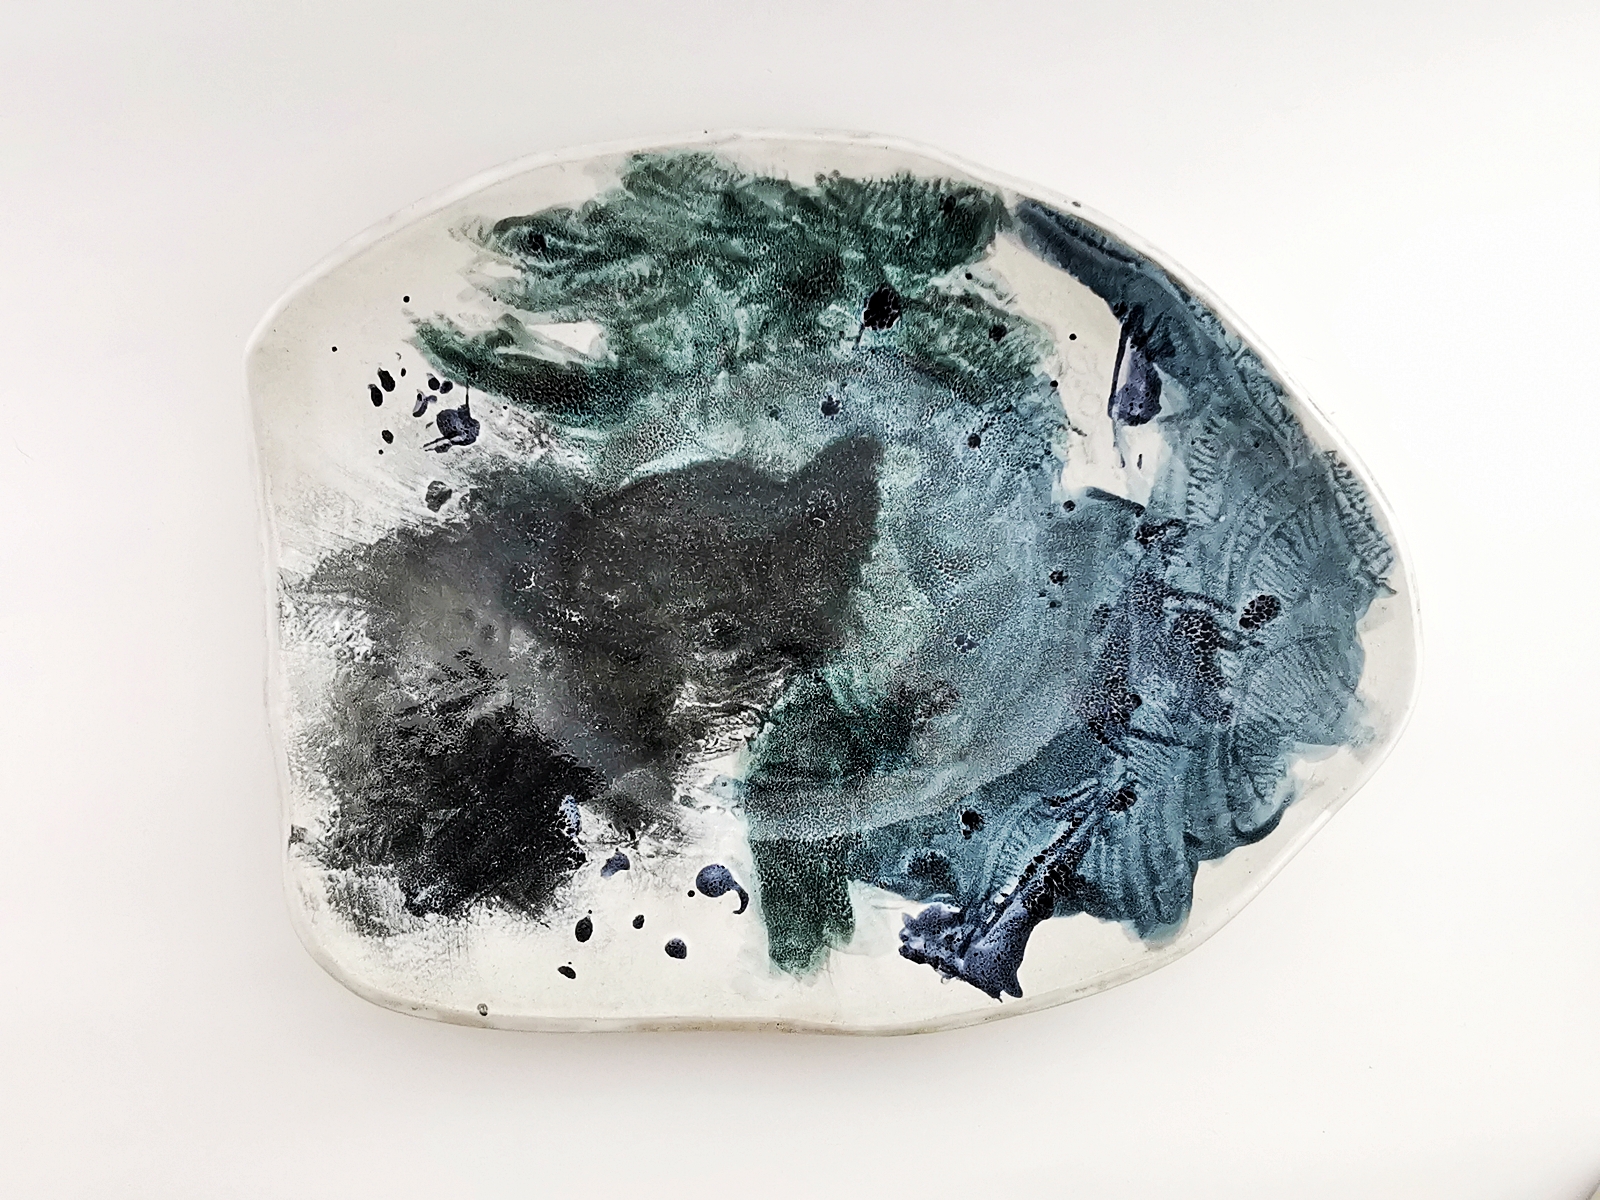
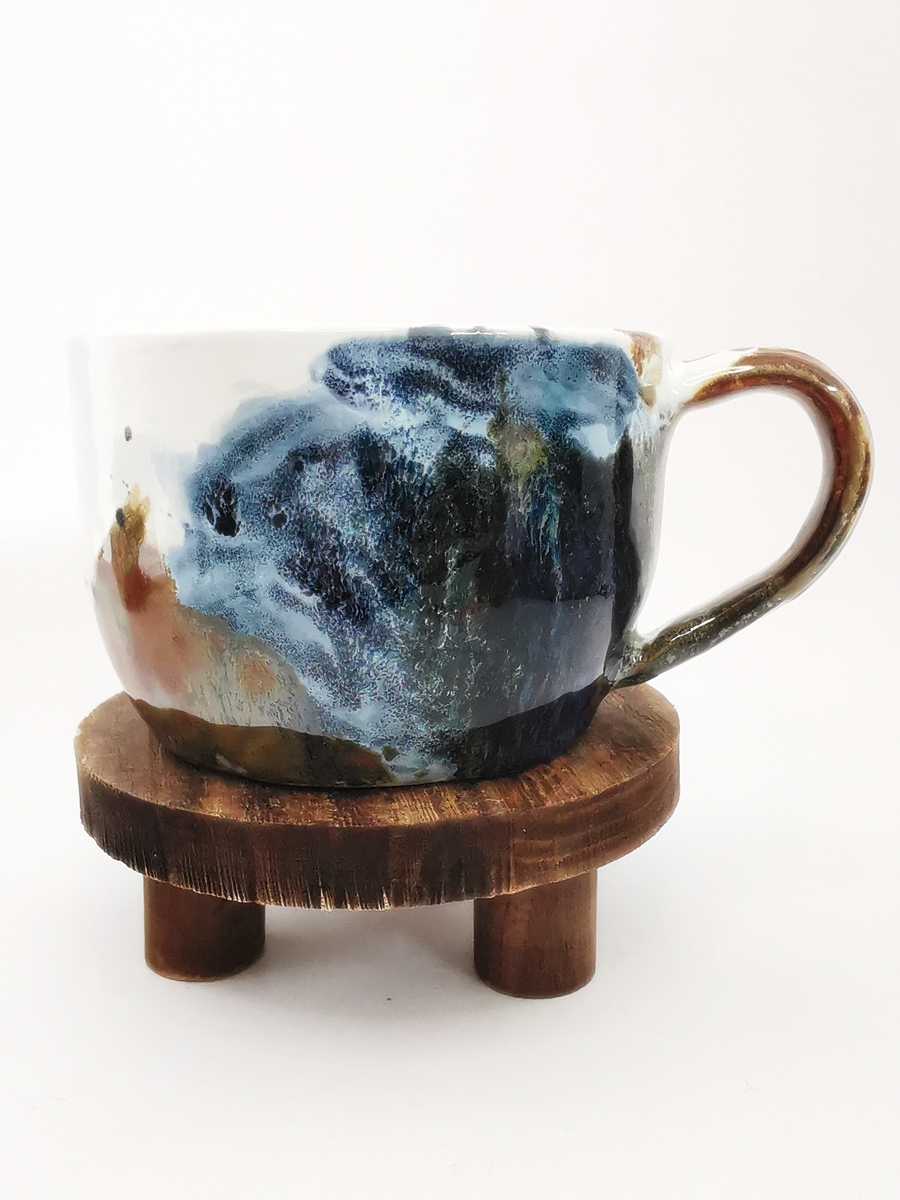
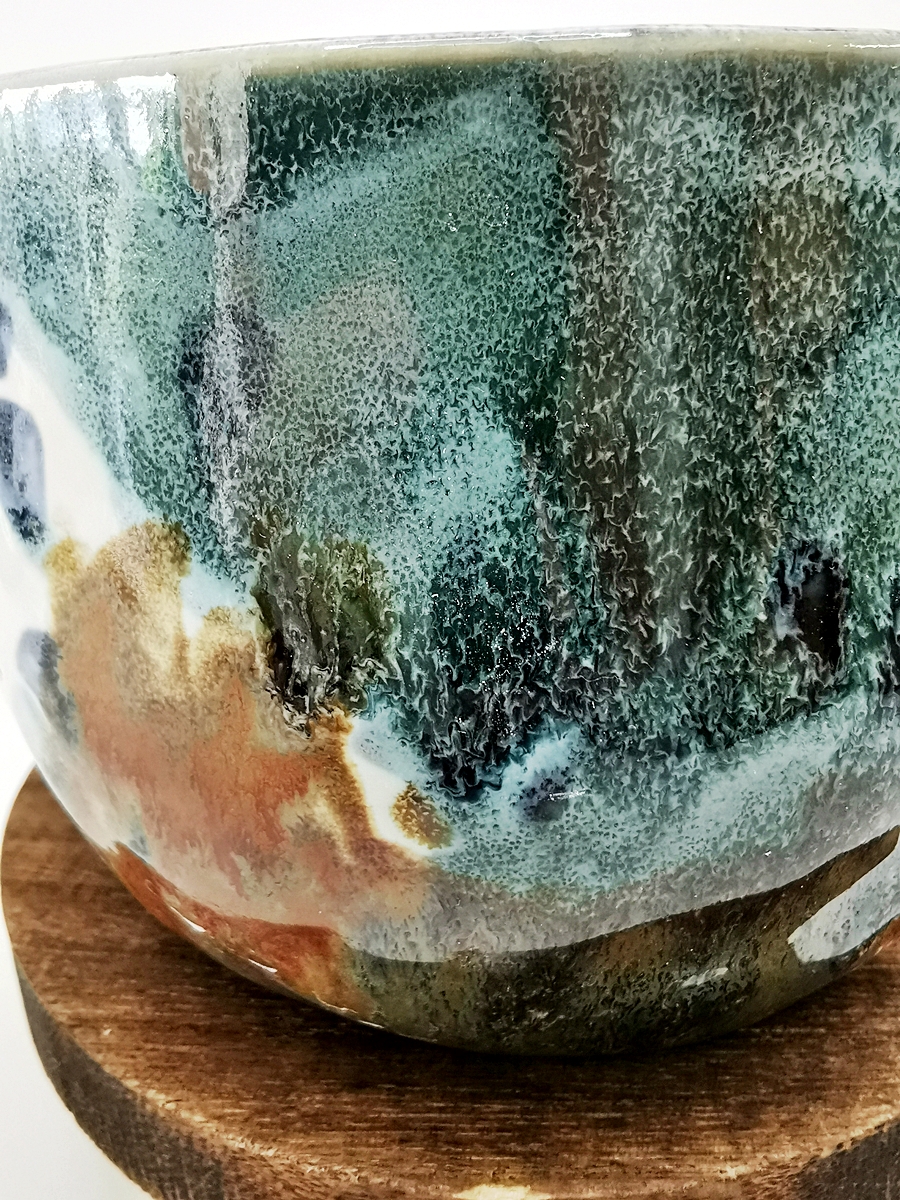
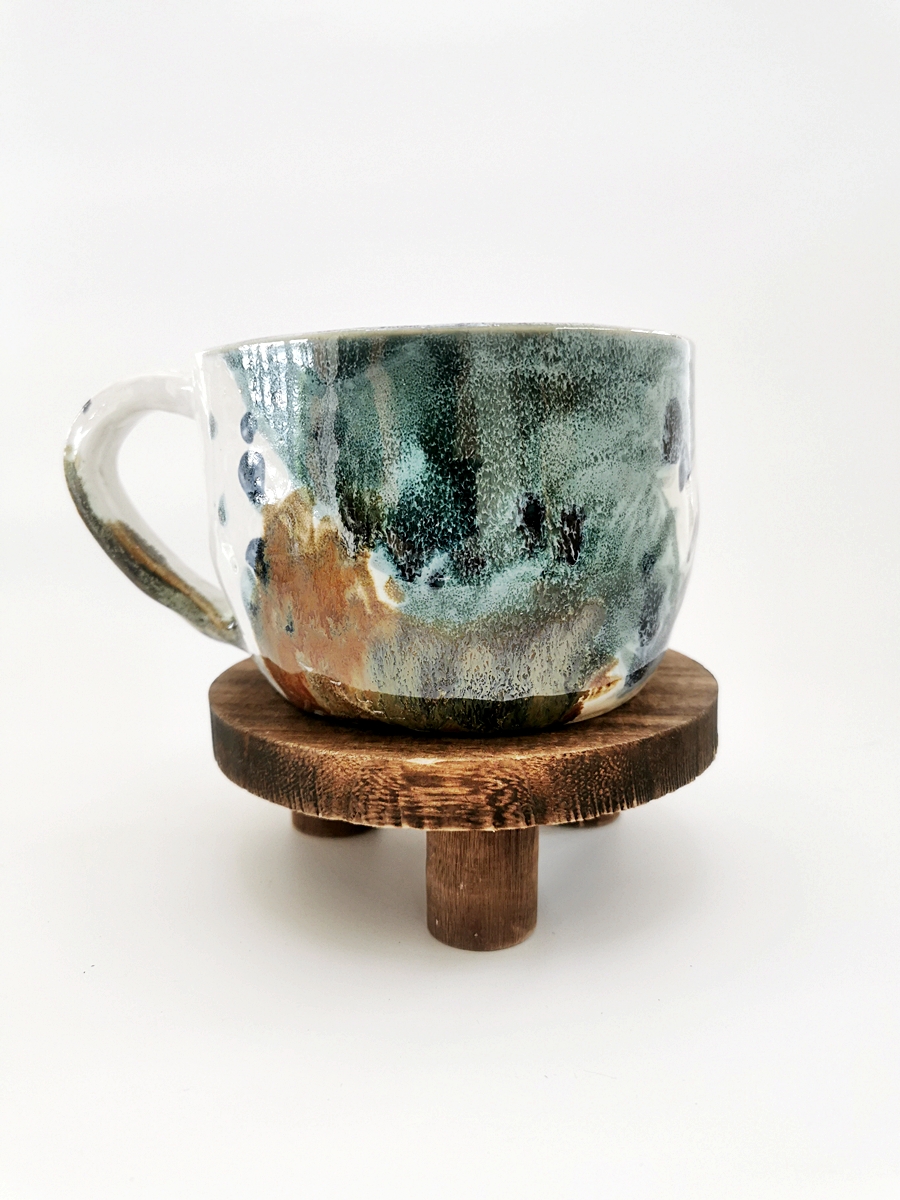
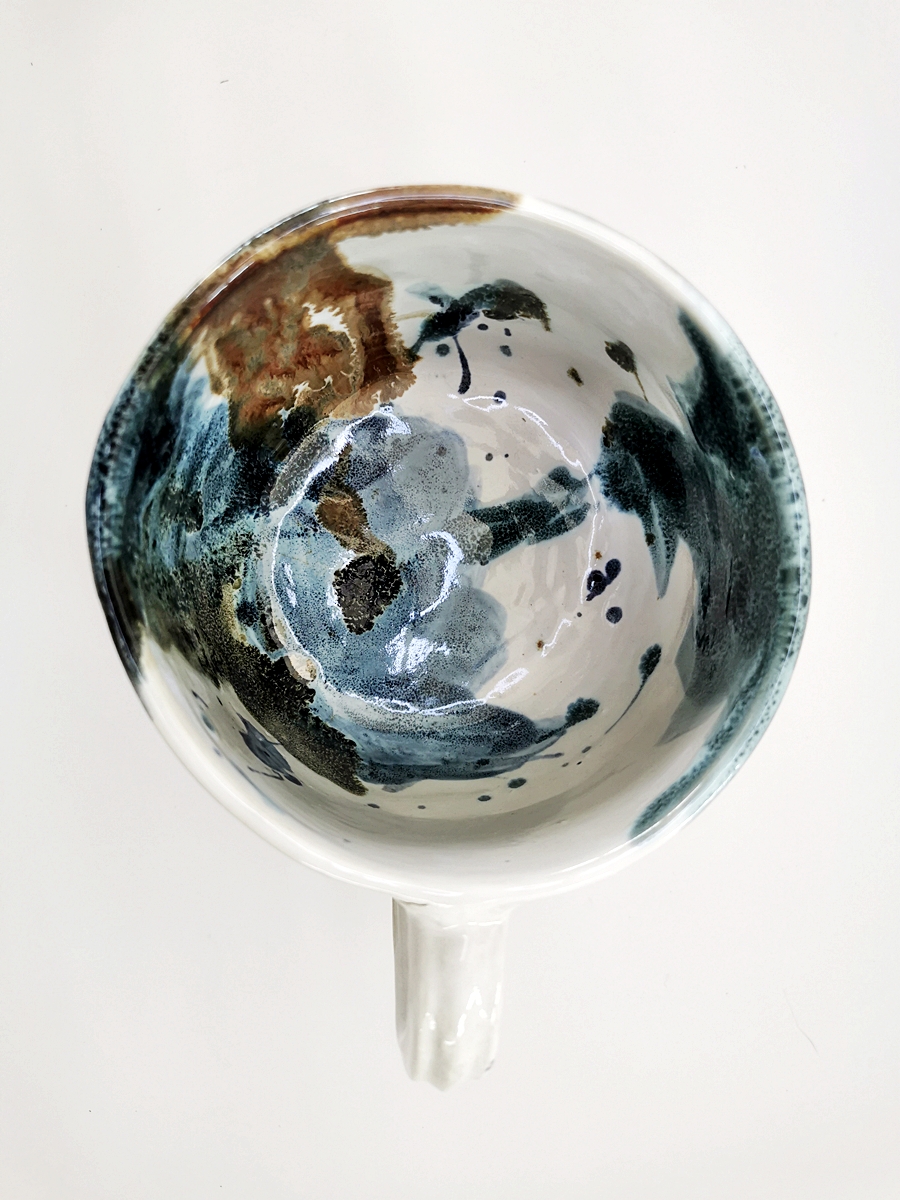
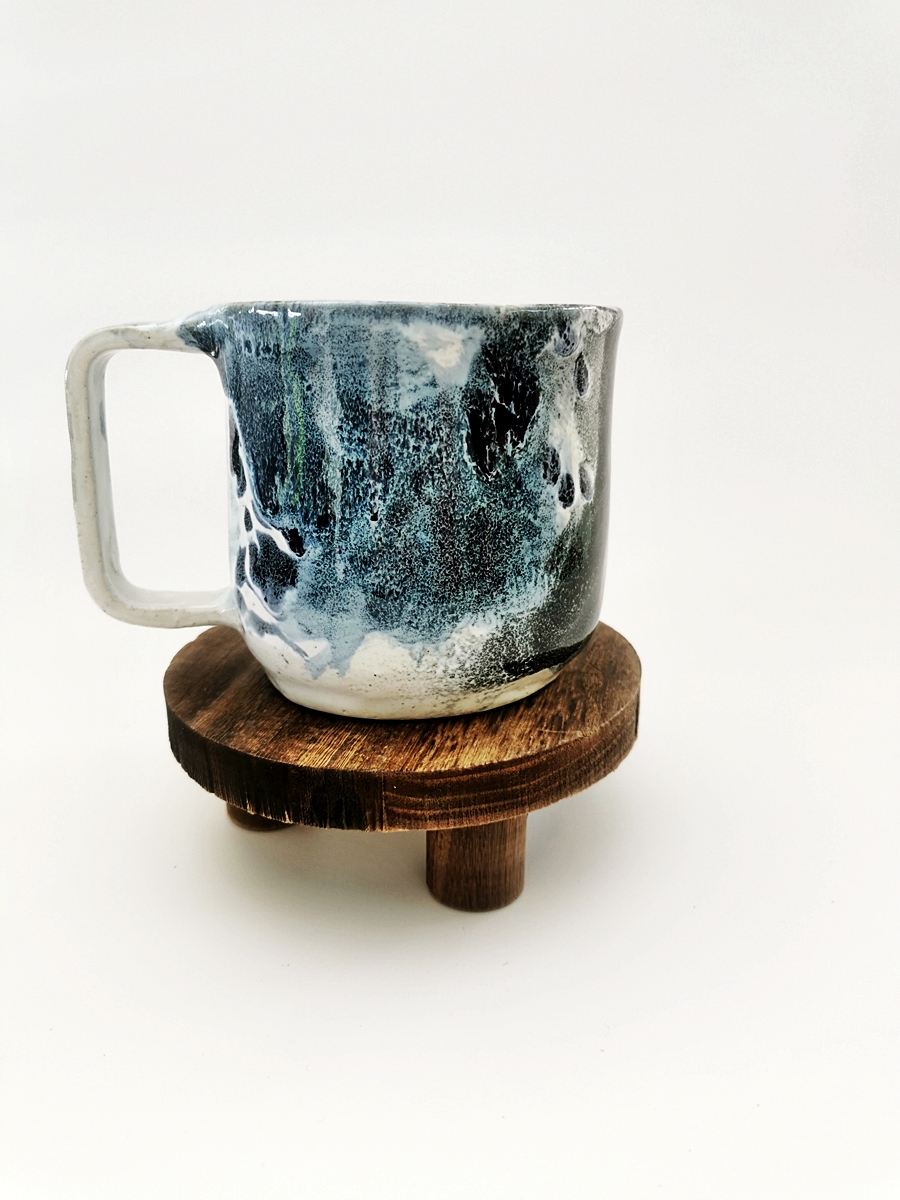
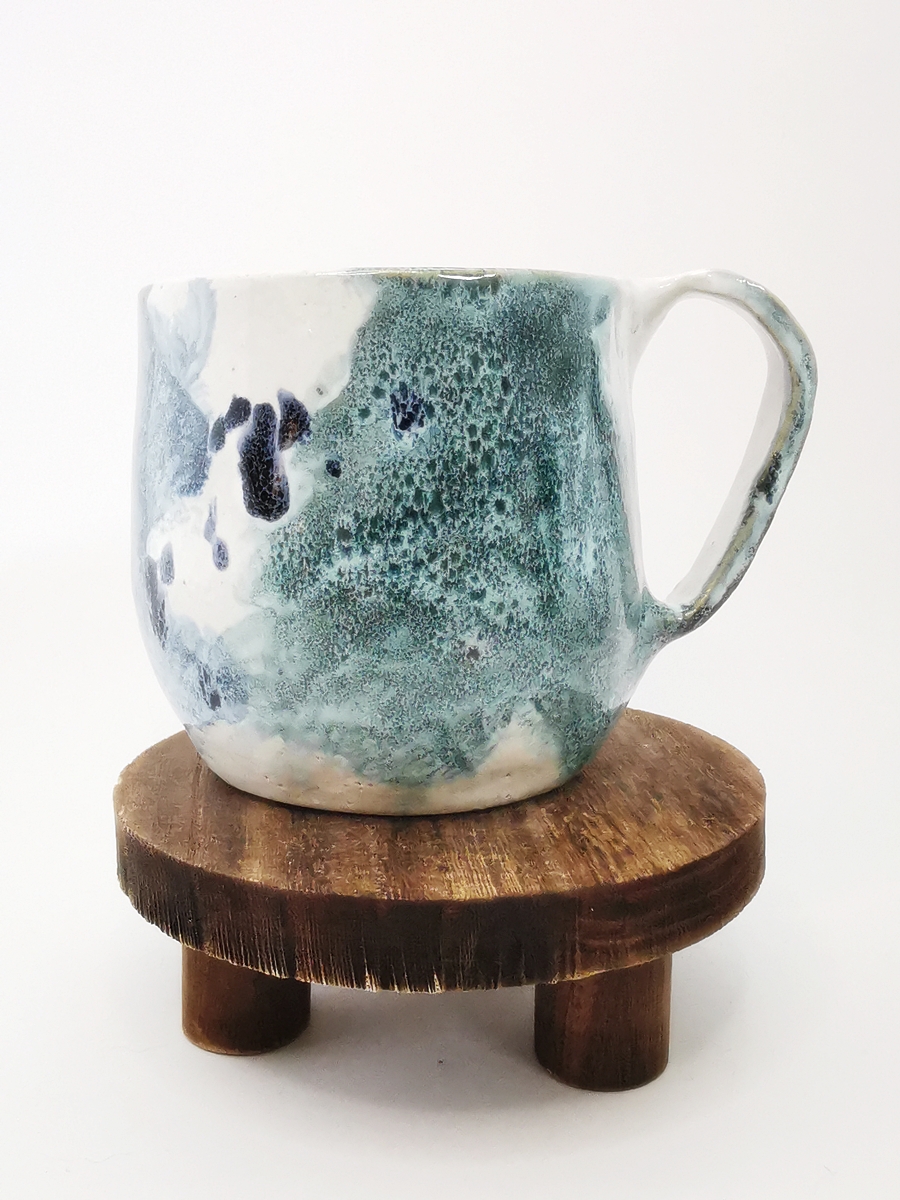
The “Oil” collection uses a special technique that captures the effect of oil floating on a liquid surface. The colours melt into each other, reminding me of Svalbard — snow, ice, water, and earth — creating shimmering patterns and delicate shifts that make every piece special.

This is a small selection of the designs, colours, and shapes available.

Post Navigation

Previous Post Furry Friends
Oil
Next Post Bubbles
Oil
Related Projects
Everyday Ceramic
Mugs & Cups
Everyday Ceramic
Utensil Holder
Neckless
▶️ 𝗧𝗲𝘀𝘁 𝗧𝗶𝗹𝗲𝘀 - 𝗣𝗮𝗿𝘁 𝟮 ◀️ In my last video I show ▶️ 𝗧𝗲𝘀𝘁 𝗧𝗶𝗹𝗲𝘀 - 𝗣𝗮𝗿𝘁 𝟮 ◀️

In my last video I showed how I prepared a new round of test tiles. Now the kiln has cooled and it’s time for the next step.

As I mentioned before, I work with different clay bodies and fire to different temperatures. Glazes can change a lot depending on both the clay and the firing temperature.

For this round, the tiles were fired to hot cone 7, with a hold at the top temperature, because I wanted to see how the glazes behave when they are pushed a bit higher.

Once the tiles are cool enough, I start documenting everything. Using a permanent marker:

➡️ I first mark the side that had the raised area so I always know the orientation of the tile.

Then I write down all the important information: • which glaze I used

➡️ the clay body
➡️ the firing temperature
➡️ and whether there was a hold at peak temperature

This makes it so much easier to understand later what I actually did and to keep the tiles organized.

During firing, the tiles were placed two and two together, leaning against each other, so they supported one another. This way I didn’t need any extra supports to keep them upright.

I hope this video helps 💕

▶️ Follow for more ceramics tips and studio insights ◀️

#the_pinkbench #ceramictips #testtiles #potterystudio #glazetesting
😱😍 𝗟𝗼𝗼𝗸 𝘄𝗵𝗮𝘁 𝗜 𝗳𝗼𝘂𝗻𝗱 𝗶𝗻 𝗺𝘆 𝗘𝗮𝘀𝘁𝗲𝗿 𝗘𝗴𝗴 😬😬🐰 One thi 😱😍 𝗟𝗼𝗼𝗸 𝘄𝗵𝗮𝘁 𝗜 𝗳𝗼𝘂𝗻𝗱 𝗶𝗻 𝗺𝘆 𝗘𝗮𝘀𝘁𝗲𝗿 𝗘𝗴𝗴 😬😬🐰

One thing I really miss about Austria, now that I’m living in Norway, is the original Mozartkugeln 😂

😬 So I couldn’t believe my eyes when I recently found them on sale in a shop here in Norway 🥳

Of course, I had to put some into my Easter egg 🐰And I’m so happy about it - every time I open it 😇

#the_pinkbench #ceramics #easterbunnies #mozartkugeln #eastereggs🐣
🐰 ▶️ 𝗘𝗮𝘀𝘁𝗲𝗿 𝗕𝘂𝗻𝗻𝗶𝗲𝘀 & 𝗙𝗿𝗶𝗲𝗻𝗱𝘀 ◀️🐰 💞 Today was one 🐰 ▶️ 𝗘𝗮𝘀𝘁𝗲𝗿 𝗕𝘂𝗻𝗻𝗶𝗲𝘀 & 𝗙𝗿𝗶𝗲𝗻𝗱𝘀 ◀️🐰

💞 Today was one of those happy kiln opening days you always hope for 😬😍

I can’t stop looking at these funny Easter bunnies and their little or rather big sheep friends 🤣

They were so much work to produce, especially painting all the tiny details and making the sheeps fur, but I’m so happy they all survived the kiln 🥳

Only one little bee decided to land on an ear 🐝

The others stayed upright thanks to the wire, and they turned out even better than I had hoped 💞

I hope they make you smile a little too 😬

▶️Follow me for more tips and hacks ◀️

#the_pinkbench #ceramics #kilnopening #easter #eaterbunny
🐰 ▶️ 𝗘𝗮𝘀𝘁𝗲𝗿 𝗕𝘂𝗻𝗻𝗶𝗲𝘀 ◀️ 🐰 😬 I had an idea for my 🐰 ▶️ 𝗘𝗮𝘀𝘁𝗲𝗿 𝗕𝘂𝗻𝗻𝗶𝗲𝘀 ◀️ 🐰 

😬 I had an idea for my Easter bunnies collection and I wasn’t sure if it would work 😅

I wanted tiny bees 🐝 to look like they are flying above the bunnies’ noses 😱 To do that, I connected each bee with a special wire and will fire them to a higher temperature 🥵

🔥But firing with wire is always a bit risky — it can melt, weaken, or collapse and ruin the whole piece 👀

So I’m keeping my fingers crossed that everything will survive the kiln just as I imagined 😬

▶️ 𝗦𝘁𝗮𝘆 𝘁𝘂𝗻𝗲𝗱 𝗳𝗼𝗿 𝘁𝗵𝗲 𝗻𝗲𝘅𝘁 𝘃𝗶𝗱𝗲𝗼 𝘄𝗵𝗲𝗿𝗲 𝗜’𝗹𝗹 𝘀𝗵𝗼𝘄 𝘆𝗼𝘂 𝗵𝗼𝘄 𝘁𝗵𝗲 𝗳𝗶𝗻𝗶𝘀𝗵𝗲𝗱 𝗯𝘂𝗻𝗻𝗶𝗲𝘀 𝘁𝘂𝗿𝗻𝗲𝗱 𝗼𝘂𝘁 ◀️

#the_pinkbench #easterbunnies #handmadeceramics #kilnmagic #norisknofun
Follow on Instagram

Phone Number

+47 482 67 904 or +43 664 349 5789

Email

office@thepinkbench.com

Opening Times

by arrangement
© Copyright 2026 || The Pink Bench by Kristina Seemayer || All Rights Reserved.